This winter out of necessity almost all Christmas gifts were handmade. Pinterest has been a godsend for that. There I found the idea for a tea wreath. I like the original poster's idea, but as usual I kinda took the basic idea and ran with it. A wreath circle with decorated clothespins and a teabag in each pin.
Here is the original idea. She made her own wreath circle out of cardboard and decorated her clothespins with scrapbook paper. I'm more of a glitter kind of gal.
So, wanna make one of these?
What do you need?
A good selection of glitter. I have these two lovely different sets of glitter by Martha Stewart left over from some crafts I made for the wedding. A little bit of this stuff goes a long way!
A craft ring to use as the base wreath. I got this Biodegradable-Floral-Ring-Glueable-Wreath from amazon, and then painted it purple with acrylic paint.
Wooden clothespins, which I also got from amazon. These are the ones I bought.
Make sure you have some Mod Podge and a hot glue gun.
To glitterify your clothespins first put down a layer of mod podge, then cover with glitter. I would do a few of the same color at a time. Put a sheet of paper underneath them. Tap off excess glitter onto the page. Then you can pour the leftover glitter back into its vial. I liked the multicolored look, but you could make it all one color, or just two, etc.
Your clothespins should look something like this:
Once you've added the glitter and tapped off some of the excess put another layer of mod podge over it. The mod podge acts as a sealant and should prevent the glitter from rubbing off. So it's really important to use it. I suppose you could use a spray sealant instead. No one wants to be covered in glitter each time they get a tea bag.
Now here is where you get to make some choices again. There are lots of different mod podge versions. I used sparkle mod podge. It has iridescent glitter in it. I like to use this for almost all of my projects. You can use glossy, or matte, or any of the other myriad of varieties.
Here's the thing, like I said I usually love the rainbow style glitter effect from this one. I love the way the black glitter looks above, but you can see here after adding the sparkle mod podge, it overshadows the effect. For my next set I will probably test it out with regular glossy mod podge. Here I'll show you what I'm talking about:
See what I mean?
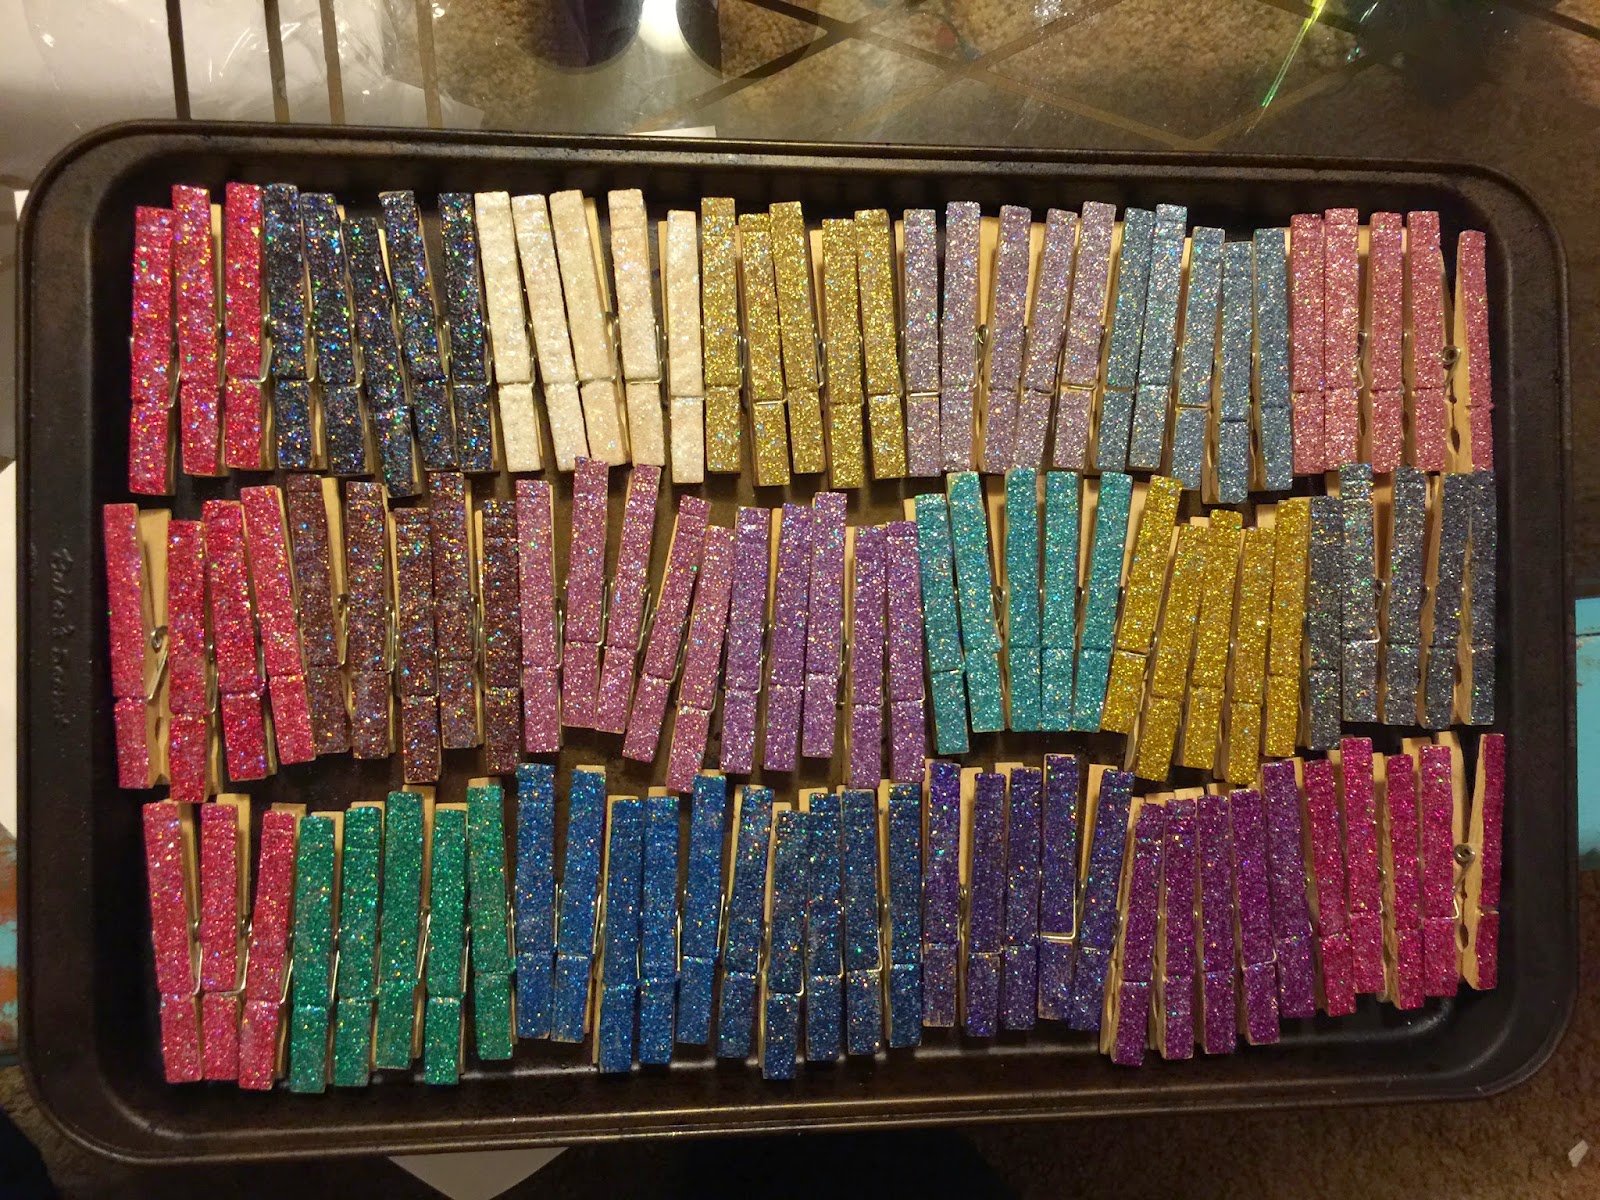
Here's the whole tray of my ultra glittery clothespins:
As I showed I painted my ring purple. You could paint it any color you want to. My husband suggested I added a layer of pink sparkly paint on top of this one:
Now it's time to use your hot glue gun to attach the clothespins onto your ring in regular intervals. Make sure when you glue them on that they have the opening, the pin bit, towards the outside. You want the tea bags to fan around the outside of your wreath. On the very top image you can see that I glued the clothespins part way through the circle. On the second one I made, I glued them on so the edge of the clothespin would be flush with the inner edge. I like the look a lot better, it seems more clean. You can however glue it on however you choose.
On this ring I used the sparkle mod podge over the purple paint.
I leave a spot free to add a ribbon to hang it up by. Again, this depends on your preference like so much in crafting. The original idea had the pins go all the way around, but left enough space between the pins to be able to use a wreath hook.
And here is another picture of the first wreath I made hanging up:
My future sister-in-law, Deedee, asked me about the possibility of being able to add Keuring cups onto a wreath like this. You might be able to get extra large clothespins, glue them on sideways and then fit them into the pin part. That's about the only way I could come up with. Wish I could be more helpful!
You can also put different things into the pins. Pictures might look really cute in a wreath like this.


No comments:
Post a Comment