Sunday, February 15, 2015

Shepherd's Pie

The first time I ever had Shepherd's Pie was when Brandy (My husband's brother's girlfriend and the mother of his child) made it. Apparently Brandy's sister Brittany taught her how to make it. I don't know if I make it the same way they do, but it reminds me of her. Sadly Brandy recently passed away in a horrific car accident, leaving her 3 children (Nita, Emma, and Carl) as well as my brother-in-law Joey behind. For me This dish is a good memory of Brandy to have and a way to honor her as a caring mother that she was. So here is my tribute to Brandy.
So, now that we're done with all the heavy stuff, lets get cracking!

Ingredients:
Cream (heavy whipping)
Butter
Potatoes
Shredded Cheese
Ground Beef
Green Beans
Soy Sauce
Worcestershire Sauce
Ketchup 
(Maggi if you can get it)
Paprika
Cayenne
Italian Seasoning
Salt & Pepper

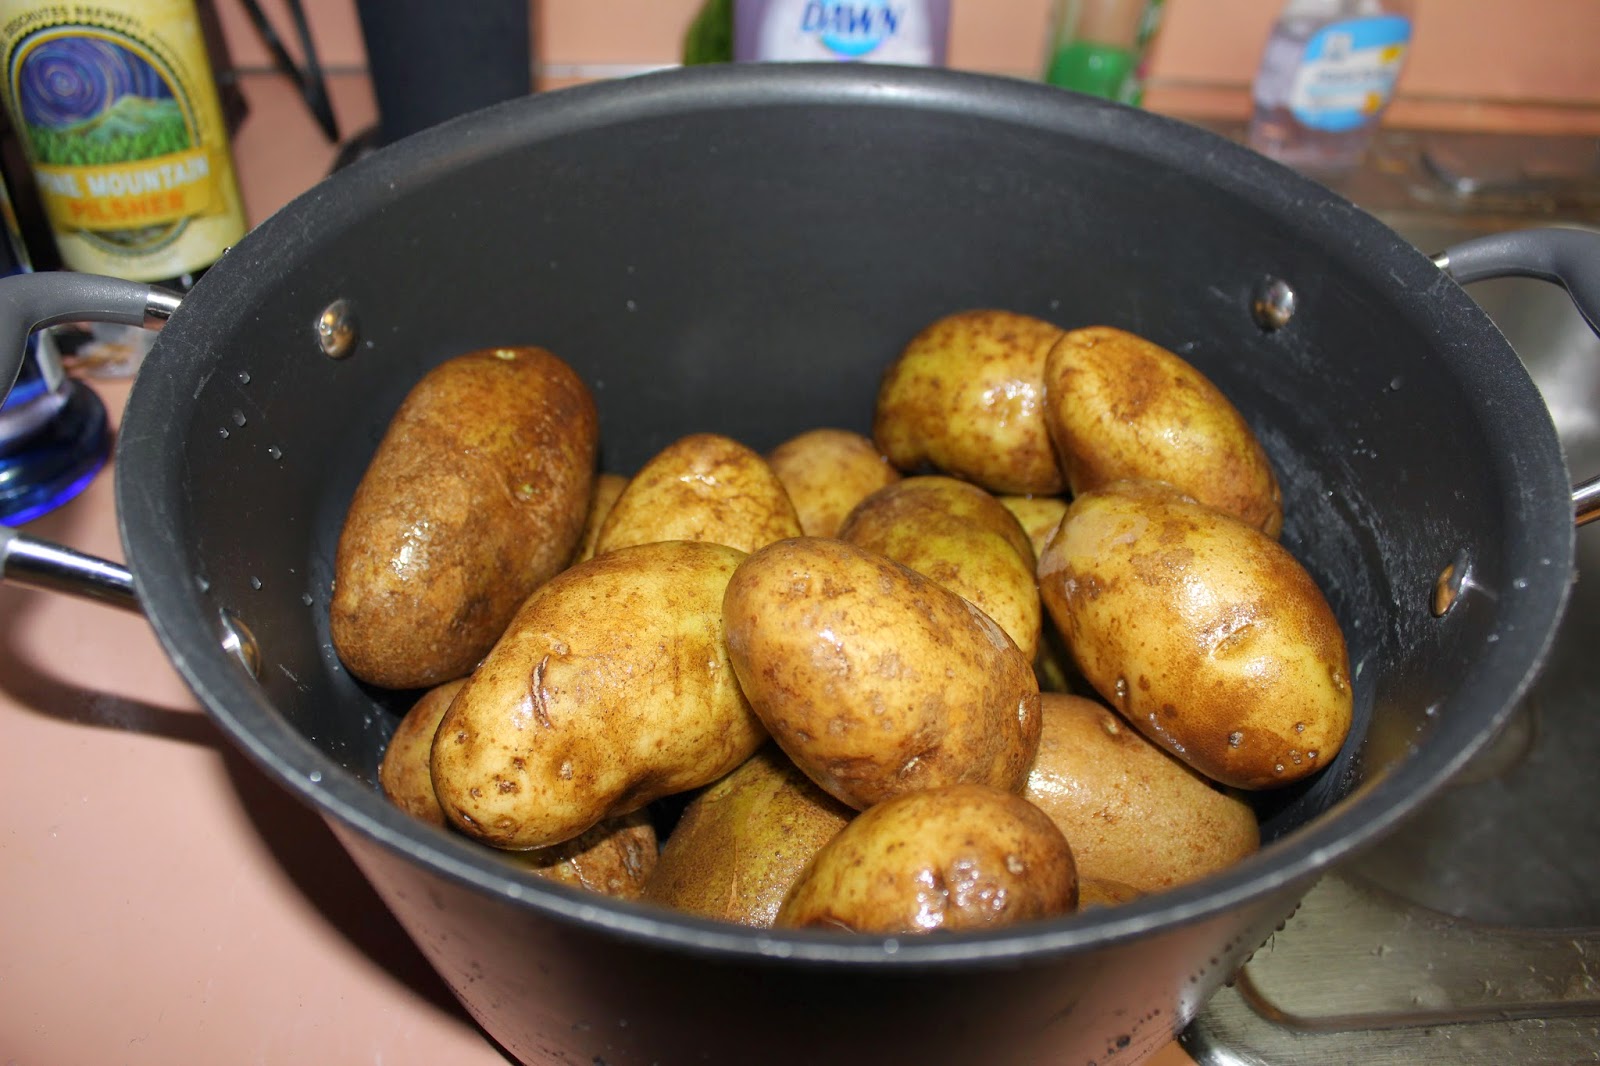
First you need to make your mashed potatoes.
You'll need: cream, butter, and potatoes.

I peel my potatoes and boil them whole. If you're in a hurry and want them to be done faster you can cut your potatoes into smaller pieces.
Make sure you add salt to your potatoes while they are cooking, as potatoes will absorb a lot of salt. That is why you can add a potato to soups or sauces that you've accidentally oversalted in order to absorb exes salt.

While my potatoes are on the stove I begin cooking my meat. As you may know by now I'm a big fan of seasoning, so I get this whole load ready:
Ketchup, Worcestershire Sauce, Soy Sauce, Maggi, Paprika, Cayenne, Italian Seasoning, Salt, and Pepper.

I like to preseason my meat on one side with the dry seasonings before I throw it into my preheated pot/pan,

The black stuff on here is actually salt.
Charlie's oldest brother Clint and his family gave us this Hawaiian black salt for Christmas amongst other things. It tastes mostly the same as regular salt, but it looks way cooler! Shout out to Clint, Brenda, their daughter Gaby, and especially to their son Justin who picked it out!

OK, back to cooking. I'll stop bragging about my cool family! So you threw your meat into your pot seasoning side down.
Add your second layer of seasoning.

Start breaking up your meat into smaller pieces as you brown it.
Once you've gotten it mostly browned...

...add your liquid seasonings
Ketchup, Worcestershire Sauce, Soy Sauce, and Maggi if you have it.

I just throw in a bunch of squirts of all of them.
You could also add some mustard if you feel like it. I like to cook it down some, so it isn't too liquidy, but I do want there to me some, so it stays nice and juicy. As you will be baking this for half an hour, and you don't want it to dry out.

Once you cooked the meat all the way through, put it in your casserole dish. Your first layer is complete.
Nomms.

Next we are adding the green beans.
So, I used fresh beans. They didn't cook all the way through in the oven, but I like the crunchiness. If you however don't want that texture, you can parboil your beans or use canned ones.

Layer them on top of your ground beef.
You could also use different veggies if you choose. Carrots are really good too, or peas, or anything else you can think of.

Now your potatoes should be cooked. Time to mash those suckers! I'm a big cheater because I have lovely kitchen appliances. I stick it into my kitchenaid and whip it. That makes the potatoes super light and fluffy. However you can totally use a potato masher and do it by hand.
I add a bunch of butter, cream and a bit of salt. I just keep adding butter and cream until it reaches the desired consistency.

See how fluffy it is?

Now layer your mashed potatoes on top of your green beans.
I add globs of potatoes all over the top, and then smooth it out. If you try and spread it, the beans will stick to the potatoes and get dislocated.

Last layer: Add copious amounts of cheese, 'cause cheese!
Stick it in the oven at 350 for half an hour. (Please don't judge my oven, it has spots that can't be cleaned off, believe me, I tried!.)

Now look at your ooey gooey goodness!

My husband holding his first bowl full of Shepherd's Pie.
It's easily reheatable in the microwave and makes for great leftovers! You could also make this whole dish in advance and refrigerate it till you're ready to make it. Just up the cooking time in the oven a bit to make sure it gets heated all the way through.


Quickie Summary:
Ingredients:
Cream (heavy whipping)
Butter
Potatoes
Shredded Cheese
Ground Beef
Green Beans
Soy Sauce
Worcestershire Sauce
Ketchup 
(Maggi if you can get it)
Paprika
Cayenne
Italian Seasoning
Salt & Pepper

Make your mashed potatoes.
Boil your potatoes.
Whip with butter and cream.

Cook your ground beef.
Season it with your dry spices. (Cayenne, Paprika, Salt, Pepper, Italian Seasoning)
Brown the meat.
Add your liquid seasonings. (Ketchup, Soy Sauce, Worcestershire, Maggi if you have it)
Cook it down a bit.
Layer the meat into the bottom of your casserole dish.

Layer your beans on top of the meat.

Layer your mashed potatoes on top.

Sprinkle cheese liberally on top.

Bake at 350 degrees Fahrenheit for half an hour.


Sunday, February 8, 2015

White Chocolate Bark Bites

With Valentine's Day coming up I thought I'd make you a little treat that you still have plenty of time to make before V-Day yourself. These little bark bites are so cute and would make great little Valentine's treats for your child to take to school, or for you to distribute at your work. You could put a few in a little baggie, or individually wrap them in cellophane with a bit of ribbon.

Why don't we jump right on in then?
White chocolate melts (can be called melting wafers) I got mine from the bulk section at Winco, I know Ghirardelli also makes them.
M&Ms ( you'll see I have Valentine's m&ms as well as some mini ones)
Sprinkles or colored sugars (I couldn't find pink and white sprinkles so I just used the sugar)
Silicon mold (I used this heart shaped ice cube tray as well as a pacman one shown below)

So, you need to melt your white chocolate. You can either do it in a double boiler or in the microwave. I kinda rigged my own double boiler because my only metal bowl is waxy at the moment.

I put my chocolate in a pyrex measuring cup.

Bring the water in your pot to a boil.

Place the pyrex cup in it.

OR ALTERNATE VERSION:
Microwave it! This was actually easier and quicker.

Again put your chocolate in a glass measuring cup.
Stir and only microwave in stages. So start with like 30 seconds or a minute. Check on it each time and add additional time. Believe me, my second batch I tried to just do the whole 3 minutes in one go, and it burnt my chocolate in the middle and turned it into a clumpy brown mass. So take the time to do it incrementally.

While you are melting your chocolate you can get your forms ready. I used this heart shaped silicone ice cube tray and it worked fabulously. It's funny, but ice cubes is like the one thing I haven't ever used this form for. Hah. I think I got it at Ikea for pretty cheap, you can probably get them all over the place.

Once you're sure your form is completely dry (You don't want your sprinkles, etc to dissolve) you can start adding stuff. I started with some red and white sugar sprinkles because I couldn't find any actual pink, white, and/or red sprinkles at the store.

Next I added some of the Valentine's Day edition chocolate m&ms.

I also made some non-Valentine's Day ones in my husband's Pacman ice cube tray.
There I used blue sugar sprinkles and the mini m&ms.

Once your chocolate is all the way melted make sure you stir it well.

Now you can pour it into your forms. I choose to overfill mine a little and then to scrape the top to even it out, but you could also underfill it and have them be a little shorter.

You will want to tap the form to even it out, but also to give a release in case there are air bubbles in the melted chocolate.

I let it sit for a while and then refrigerated them for about an hour or two. Once they are completely solid you can start popping them out of their mold, and then refill if desired.

If you've overfilled them like I have, you may need to clean up some of the edges.

All in all I thought they turned out pretty cute.

I sent a couple of the pacman ones with my husband to his DnD group.

Man, this is gonna be the easiest quick summary ever!

White Chocolate Bark Bites:

Ingredients needed:
White chocolate Melts (Also called vanilla melts on occasion)
Sprinkles
M&Ms

Melt the chocolate
Put sprinkles into the molds
Put m&ms into the mold
Pour melted chocolate on top
Tap mold to release air bubbles and to even out
(If you have overfilled scrape excess chocolate off)
Chill
Remove from mold and clean edges if desired/needed

Sunday, February 1, 2015

Rösti (Swiss Potato Dish)

As you may have gathered I am also from Switzerland. My mom is American and my dad is Swiss. I have dual citizenship which is petty cool to have. (Don't think I'm bragging, I just find my heritage very interesting). So, after living in Switzerland for 12 years I have become very familiar with what many of us consider a national dish. It originated from the Kanton (Similar principle to American states) that I grew up in, Bern. The closest thing you could liken it to in American food would be a type of cake patty made out of hash browns. But I guess the easiest way to show you what it is, is to dive right in. So, shall we?

This is what you'll need:
Potatoes
Butter
Salt & Pepper
Bacon (I've pictured the bacon here because I used it. It is however optional. You can make it with just the potatoes and butter as is the most traditional. Since we're Swiss we will often add cheese. I didn't today, but you totally can and it's delicious!)
I like to use a cast iron pan. I'm sure you can do it with a different pan, but for low and slow cooking you can't beat cast iron, it heats very evenly.

So unlike in American hash browns, you need to precook your potatoes. There are a few that may cook this dish with raw potatoes, but trust me, it's way better if you precook them.

Scrub your potatoes:

Now boil your potatoes. If you want you can just par boil them, but I recommend cooking them all the way through. Buy potatoes you can cook through without them starting to disintegrate. You want them to still be firm enough that you can grate them.

I just scrub them and leave the peel on. Once they're cooked, the peel pretty much just slides off. So often I will just cook the potatoes the day before. You want to make sure they are really cooled off before you try and peel and grate them. If they're still warm it gets messy and they pretty much just smush when you try to grate them.

If a few bits of peel stay stuck on the potato it's really no biggie. This is a rustic dish.

Now grate them with a big holed grater. I'm spoiled with a mother who is a food snob and raised me to be a food snob (according to my husband). The good part of this is, that my mom understands the need for fabulous kitchen appliances and got me a cuisinart. Guys, that's the one to get! My mom has had hers for longer than I've been alive. You might think you're saving money by getting a cheaper brand, but depending on which you get (for example Black&Decker) is not as strong or as durable. Now I'm not a cusinart spokes person, I just know I love my regular sized food processor by them, as well as my mini one, and wouldn't trade them for the world. Also I'm not knocking Black&Decker, they make sweet power tools, just the food processor they make, that I used was a tad pitiful, or I'm just spoiled and expect too much.
Anyway I used my food processor with the corresponding attachments to grate my taters.

Sprinkle with salt & pepper, then mix.

Since I'm using bacon I now cut that up:

Render the bacon:

I like my bacon crispy so I cook it a bit longer. I like to cook slowly to render the fat as we will be using that fat to cook the potatoes in.

Once the bacon is ready, I remove the bacon, but leave the grease in there. If you are making the vegetarian version you just add a lot of butter to the pan and melt it. If you are using bacon, mix the bits into the potatoes. This is where you could also add cheese if you wanted it.

Once it's mixed you add the potato mixture to the preheated thoroughly greased pan and gently compact it with your hands. I pretty much let it fill the frying pan.

Lets get real, this is not diet food. No where close, which is why it's a special treat we don't make very often. So if you do make it, go full hog. I.e. I but three dabs of butter on top of my potatoes:

Here you can see my two beauties cooking away:
So now you will let that cook at medium to medium low heat for about 20 minutes. This gives you a delicious, crispy, crunchy crust.

Now if you're my mom you can do some expert level shit by flipping it up in the air. If you're me you just put a plate over/on the pan and turn the potatoes out on to the plate. If you haven't used quite enough grease some of the crust may stay stuck to the bottom of the pan, gently peel it off and put it on top of the turned out patty.

Now add and extra bunch of butter to your frying pan.

Props to my lovely husband for coming out and helping me.
Gently slide the potato patty crust side up back into the frying pan:

Gently....

Plopp!
So this is where you could put cheese slices on top of the crusty side. They will melt while you are cooking the other side for another 20 minutes, again on medium to medium low heat.

And now look at your beauty:
Crispy crunchy on the outside, ooey goey on the inside.
There you have it. It's not really hard, you may just need a bit practice to get the right temperature and cooking time. It takes longer than other stuff, but doesn't have a lot of active time.


Quickie Summary:

Ingredients:
Potatoes (cooked and cooled)
Butter
*optional: bacon and/or cheese

Grate the potatoes.
Mix potatoes with salt and pepper.
*Add cooked bacon and/or grated cheese if using.
Preheat a cast iron frying pan with copious amounts of butter or bacon grease.
Put potatoes into the frying pan.
Gently form them to the pan and press them down.
Cook for 20 minutes on medium to medium low heat.
Use a plate or your preferred method to flip the potatoes.
Before you put the potatoes back into the pan add a bunch of butter.
If desired, add cheese slices to the top, they will melt.
Cook for another 20 minutes.