Sunday, February 1, 2015

Rösti (Swiss Potato Dish)

As you may have gathered I am also from Switzerland. My mom is American and my dad is Swiss. I have dual citizenship which is petty cool to have. (Don't think I'm bragging, I just find my heritage very interesting). So, after living in Switzerland for 12 years I have become very familiar with what many of us consider a national dish. It originated from the Kanton (Similar principle to American states) that I grew up in, Bern. The closest thing you could liken it to in American food would be a type of cake patty made out of hash browns. But I guess the easiest way to show you what it is, is to dive right in. So, shall we?

This is what you'll need:
Potatoes
Butter
Salt & Pepper
Bacon (I've pictured the bacon here because I used it. It is however optional. You can make it with just the potatoes and butter as is the most traditional. Since we're Swiss we will often add cheese. I didn't today, but you totally can and it's delicious!)
I like to use a cast iron pan. I'm sure you can do it with a different pan, but for low and slow cooking you can't beat cast iron, it heats very evenly.

So unlike in American hash browns, you need to precook your potatoes. There are a few that may cook this dish with raw potatoes, but trust me, it's way better if you precook them.

Scrub your potatoes:
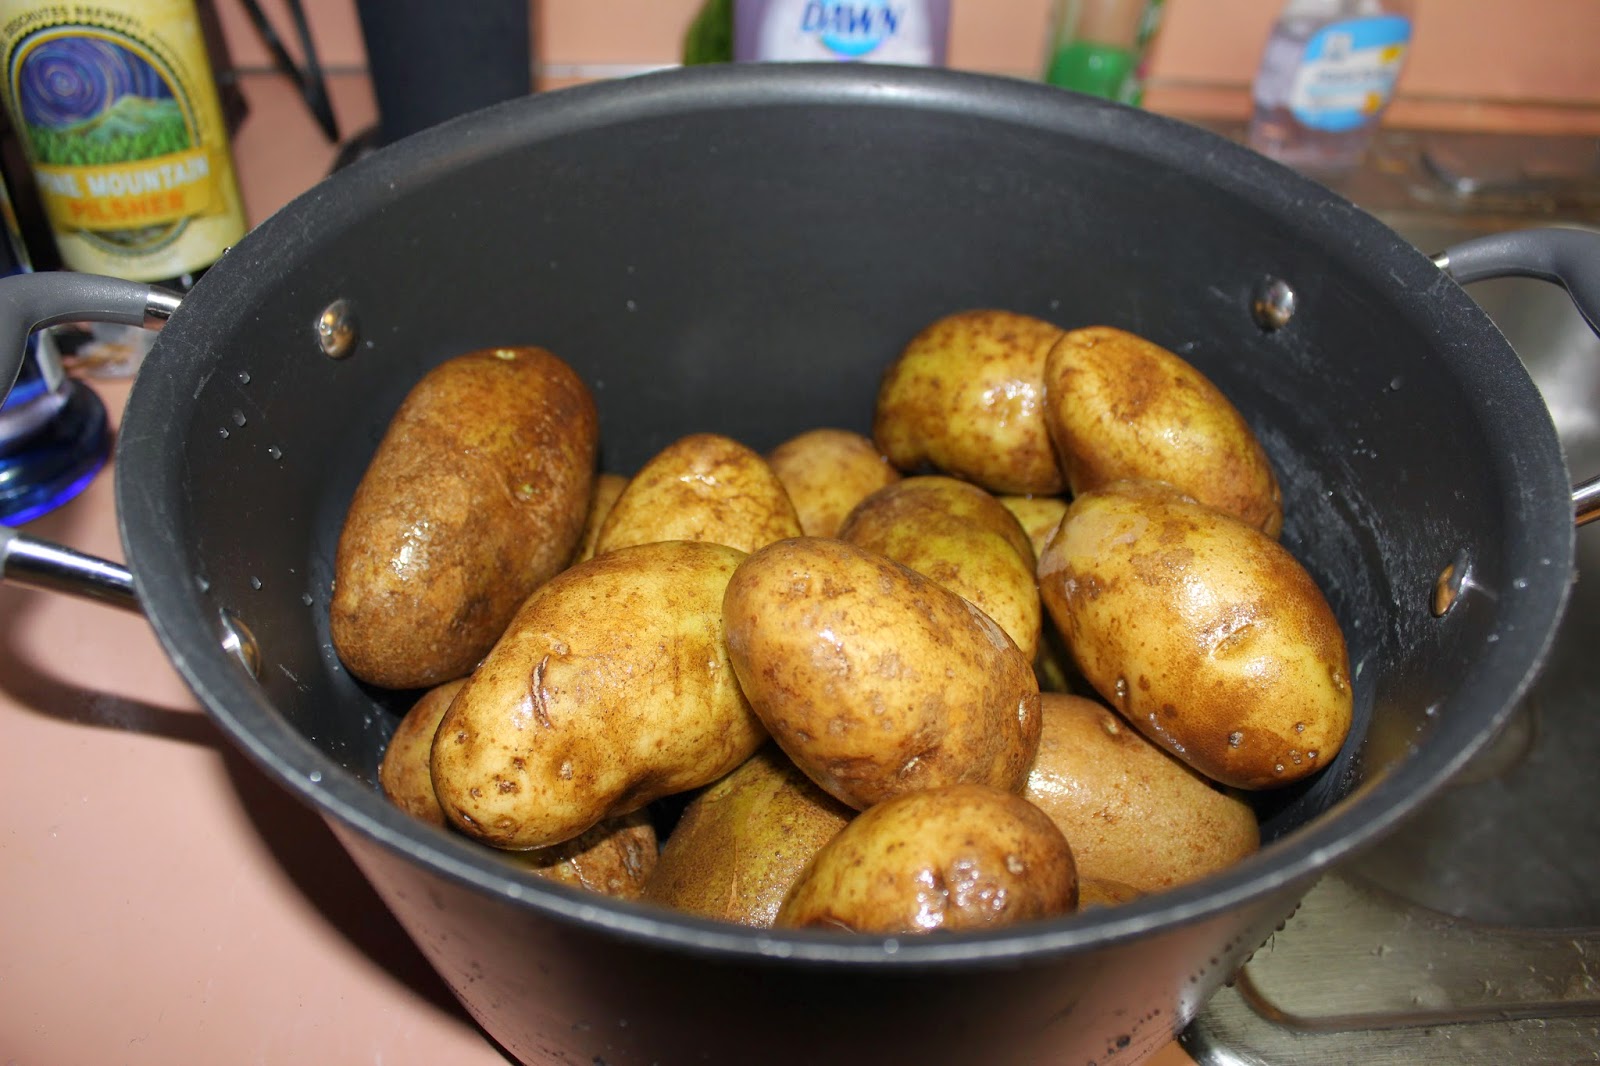
Now boil your potatoes. If you want you can just par boil them, but I recommend cooking them all the way through. Buy potatoes you can cook through without them starting to disintegrate. You want them to still be firm enough that you can grate them.

I just scrub them and leave the peel on. Once they're cooked, the peel pretty much just slides off. So often I will just cook the potatoes the day before. You want to make sure they are really cooled off before you try and peel and grate them. If they're still warm it gets messy and they pretty much just smush when you try to grate them.

If a few bits of peel stay stuck on the potato it's really no biggie. This is a rustic dish.

Now grate them with a big holed grater. I'm spoiled with a mother who is a food snob and raised me to be a food snob (according to my husband). The good part of this is, that my mom understands the need for fabulous kitchen appliances and got me a cuisinart. Guys, that's the one to get! My mom has had hers for longer than I've been alive. You might think you're saving money by getting a cheaper brand, but depending on which you get (for example Black&Decker) is not as strong or as durable. Now I'm not a cusinart spokes person, I just know I love my regular sized food processor by them, as well as my mini one, and wouldn't trade them for the world. Also I'm not knocking Black&Decker, they make sweet power tools, just the food processor they make, that I used was a tad pitiful, or I'm just spoiled and expect too much.
Anyway I used my food processor with the corresponding attachments to grate my taters.

Sprinkle with salt & pepper, then mix.

Since I'm using bacon I now cut that up:

Render the bacon:

I like my bacon crispy so I cook it a bit longer. I like to cook slowly to render the fat as we will be using that fat to cook the potatoes in.

Once the bacon is ready, I remove the bacon, but leave the grease in there. If you are making the vegetarian version you just add a lot of butter to the pan and melt it. If you are using bacon, mix the bits into the potatoes. This is where you could also add cheese if you wanted it.

Once it's mixed you add the potato mixture to the preheated thoroughly greased pan and gently compact it with your hands. I pretty much let it fill the frying pan.

Lets get real, this is not diet food. No where close, which is why it's a special treat we don't make very often. So if you do make it, go full hog. I.e. I but three dabs of butter on top of my potatoes:

Here you can see my two beauties cooking away:
So now you will let that cook at medium to medium low heat for about 20 minutes. This gives you a delicious, crispy, crunchy crust.

Now if you're my mom you can do some expert level shit by flipping it up in the air. If you're me you just put a plate over/on the pan and turn the potatoes out on to the plate. If you haven't used quite enough grease some of the crust may stay stuck to the bottom of the pan, gently peel it off and put it on top of the turned out patty.

Now add and extra bunch of butter to your frying pan.

Props to my lovely husband for coming out and helping me.
Gently slide the potato patty crust side up back into the frying pan:

Gently....

Plopp!
So this is where you could put cheese slices on top of the crusty side. They will melt while you are cooking the other side for another 20 minutes, again on medium to medium low heat.

And now look at your beauty:
Crispy crunchy on the outside, ooey goey on the inside.
There you have it. It's not really hard, you may just need a bit practice to get the right temperature and cooking time. It takes longer than other stuff, but doesn't have a lot of active time.


Quickie Summary:

Ingredients:
Potatoes (cooked and cooled)
Butter
*optional: bacon and/or cheese

Grate the potatoes.
Mix potatoes with salt and pepper.
*Add cooked bacon and/or grated cheese if using.
Preheat a cast iron frying pan with copious amounts of butter or bacon grease.
Put potatoes into the frying pan.
Gently form them to the pan and press them down.
Cook for 20 minutes on medium to medium low heat.
Use a plate or your preferred method to flip the potatoes.
Before you put the potatoes back into the pan add a bunch of butter.
If desired, add cheese slices to the top, they will melt.
Cook for another 20 minutes.


Sunday, January 25, 2015

German Pancakes

Today I made German Pancakes. The story goes, that my mother had made my father an enormous meal, then not too long afterwards he told my mother he was starving. She told him that wasn't even possible, however he sucked in his stomach and managed to look like skin and bones. My mom promptly jumped up and made my dad these German Pancakes. That is apparently when my father knew he was going to marry my mom.
This recipe seems much more intricate than it is. While it looks pretty fancy, there honestly isn't much to it! It won't take you more than half an hour tops to make. As my friend Mary said when she commented on the sneak peek photo of the pancake I posted on Facebook, this would indeed make a great brunch additive. I made two of these today, one for my husband and one for me. However I was unable to finish mine. This might be a good item to share.

You will need:
½ c flour
½ c milk
2 eggs
Nutmeg
Butter
Lemon (or lemon juice)
Powdered Sugar
-Also make sure you have a bowl, whisk, and cast iron frying pan handy

It's a good idea to preheat your oven to 480 degrees Fahrenheit before you make your batter, as it can take quite a while to get that hot.

As you know you should always crack your eggs individually, so if there is a bad egg in the batch you don't spoil all your other ingredients.

Take your 2 eggs...
...and beat them until they're frothy.

Add half a cup of milk.

Beat it again.

Sprinkle in some nutmeg.

Measure out your half cup of flour.

Add it to your egg and milk mixture.

And that's it! Your batter is ready.

Make sure you have 3 table spoons of butter ready.

Heat your cast iron frying pan on the stove on medium temperature and add your butter.

Once your butter has melted...

...add your batter to the frying pan.

Put the whole thing in the oven and bake it for around 12 minutes.

Don't they look beautiful?

Sprinkle liberally with lemon juice, either fresh or bottled. My mother would be aghast at my use of bottled juice in favor of fresh lemons, but sometimes you just have to be practical.

Now throw a bunch of powdered sugar on it.
And boom! You're done! It really is pretty simple! I hope you enjoy it! I would love to hear back from anyone how you liked the recipe, was it easy to follow, and/or do you have a similar recipe?


As always I'm giving you the quickie summary right here:

Ingredients needed:
½ c Flour
½ c Milk
2 Eggs
Nutmeg
Butter
Lemon
Powdered Sugar

Preparation:
Mix flour, milk, nutmeg and eggs together, and whisk until frothy

Preheat oven to 480

Heat cast iron skillet and melt 3 T butter in the pan.
Pour batter into the pan and bake in oven, on the lowest rung/rack for 12 minutes +-.
Remove from oven, transfer to plate, sprinkle with powdered sugar and the juice of half a lemon.

Saturday, January 24, 2015

January ipsy bag

I was really pleased with this month's ipsy bag. There wasn't anything in it that I actively disliked, and only one item I wasn't super excited about. I was also impressed with how many full sized items I got. There was only one trial sized item, which luckily was the one I wasn't too excited about. Hehe.
Shall we have a look then?

The items I received were:
A lovely block colored makeup bag
La Fresh Eco-Beauty - Be Good. Good Day. Day Moisturizer
Elizabeth Mott - All Over Shadow Brush
Pacifica - Natural Mineral Coconut Eye Shadow (Ethereal)
BelláPierre - Shimmer Powder (Celebration)

All the items came in this lovely makeup bag.

The other side is white. It's a two for one color wise with a orange pull tie.


La Fresh Eco-Beauty - Be Good. Good Day. Day Moisturizer View here
This moisturizer has some pros and cons. I used it yesterday and today. It feels pretty light on your skin. I was surprised, that it did smell like real cucumbers. However it did also have another smell to it that I didn't like as much. I did like the moisturizer, but I know for sure, that I am not in a position that I would spend $40 on a full sized jar of moisturizer. Honestly, I'm not sure if I ever will be in that position. haha

So to test out the two eye shadows I received I figured I'd put down some basic makeup as a canvas. This is me without any of the ipsy items. (Except for the moisturizer I used earlier today)
Before putting on makeup I always put my hair back so it doesn't interfere.

Elizabeth Mott - All Over Shadow Brush View here
Here you can see the back of the packaging. Sorry it's not the best picture, there is some glare.
What can I say about this brush, other than I adore it! Brushes are important, but not usually something I geek out over. This brush is different, it is so very soft and easy to use. Of course the fact that it's pink doesn't hurt either, as you may know I adore pink. The back of the brush package says that the brush is ridiculously soft. Gotta say, they weren't lying! Considering this brush is only $10 i would definitely repurchase it and recommend it to anyone! I used this brush to apply the two eye shadows I received.

Pacifica - Natural Mineral Coconut Eye Shadow (Ethereal) View here

It's a very light color.
This shadow is only for sale in palettes.

The shadow goes on very lightly. It's almost imperceptible.You can see a faint shimmer. I chose to put it on the entire lid as I was planning on putting another shadow on my lower lid. It did feel nice going on.
If you look closely you can see the shimmer under the eyebrow.

Here you can see the full lid.
It looks slightly silverish. I like it as a base lid color.

BelláPierre - Shimmer Powder (Celebration) View here
I got the color celebration which is a very vivid gold.
It's a loose powder. So the application was quite messy. But so worth it! The color is very intense. My photos barely do it justice. At $15 a pop, it's a bit more than I might normally spend on an eyeshadow, but I would definitely consider doing it for this, as  the result was quite phenomenal.

Here you can see how it looks with my eyes open, before I added any mascara.
As you can see I also applied some under my eyes. I was planing on doing that anyway, but with how loose the shadow is, some of it went there automatically, so I decided to roll with it.

On my lower lid.
The color looks even more intense in real life than in the pictures. I love the bold color!


Probelle - Into The Blue Nail Lacquer View here
I love the cheerful color. It is a lot lighter than it looked like on ipsy's website. It's not a bad nailpolish for $6. It does need multiple layers though. I put on three to get good coverage. The first one or two layers look pretty streaky.

The color really is so cheerful. A nice bright blue.

So all together this is my look. I also used my red lipstick starter kit that I received from Meyggy and wrote about on my blog in December.

I'm pretty happy with the look. You can also kind of see the eyeshadow sparkle, even when not looking close up.


Just as a disclaimer, I do not receive any free items for reviewing ipsy products on my blog. I pay the same 10 bucks per month as everyone else. However if you do sign up through this link I earn points that I can then later redeem for additional items.