Showing posts with label chocolate. Show all posts

Monday, December 15, 2014

Fudge


So this weekend I made fudge. I didn't have enough time to write it up and post it for your pleasure because my friend, Rachel, came to visit and we did some sewing for her emerging business. I decided spending time with my friend, that I don't get to see nearly as often as I would like, was going to be my priority for the night.
OK, here goes! Lets do this! Super delicious decadent fudge. My husband finds it a tad too rich for his taste, but I love it. :)

Here's what you need:
  • 1 1/2 cups granulated sugar
  • 2/3 cup (5 fl.-oz. can) Evaporated Milk
  • 2 tablespoons butter or margarine
  • 1/4 teaspoon salt
  • 2 cups mini marshmallows
  • 1 1/2 cups (9 oz.) Chocolate Chips (I use milk chocolate because I prefer that to semi-sweet, however you can use whichever you like best. I also always spring for Nestle because I must remain true to my Swiss roots and I think they taste better.)
  • 1 teaspoon vanilla extract

    You can add nuts, but I don't go in for any of that nonsense! I want my fudge chocolatey and unadulterated! However if you're not a purist like I am you can add half a cup towards the end of the recipe.
I'd also like to note, that I made a double batch this time around, but am giving you the instructions and amounts for a single batch. If you want to do a double batch feel free. :)

First  measure out your 2/3 c Evaporated Milk and add it to your pot. Don't make the mistake I made a few years ago and  use sweetened evaporated milk. It has much thicker, syrupy consistency and will make your fudge not turn out at all, it turns it almost into a hard candy.

Add your 1 1/2 c sugar.

Add your 1/4 teaspoon salt.

Now add your 2 tablespoons of butter.

Combine them all in your pot. Stir well.

I turn up the heat slowly and blend them all well together.

Bring it to a boil and let it boil supervised for 4-5 minutes. Make sure you stir and your pot is big enough so it won't boil over. I wouldn't leave it alone, but watch it constantly.

While it is boiling I get my two cups of marshmallows out and put them on the side in a bowl.

Next get your chocolate chips ready. You will need 1 1/2 cup of chocolate chips. If you are doubling it like I was, keep in mind that one bag is about 2 cups, maybe a bit more. So if you're doubling it, buy two bags. Better to have leftover chocolate than not enough.

Once it's boiled for 4-5 minutes, remove it from the heat and add your two cups of marshmallows.

Stir them until they have completely melted down, then add your 1 teaspoon of vanilla, and your 2 cups of chocolate.

Make sure everything is very well blended. If the chocolate chips don't melt all the way and you haven't blended it all together well enough you will have hard chunks of chocolate in your fudge. Once it's all completely mixed together and smooth pour it into your dish. I used the larger one because I made a double batch, however if you are making a single batch, use a square baking dish.

Now let it chill for at least 2 hours. I'll be honest, I thought about lining the pan with foil, but didn't. Now I regretted it. It would have made it much easier to cut up and portion.


I like to cut my fudge up into bite sized pieces, but you could also cut it into larger pieces in order to gift chunks of it.

Hope you enjoy your fudge!


Monday, November 17, 2014

Mousse au Chocolat


Here you're getting one of my most famous deserts. Keep in mind that it's very rich, so a little bit goes a long way. At the bottom you will find the recipe for a single batch, however I never make a single batch, I always make a double batch. So in the photos that I'm using to show you all ingredients will be double of what is listed in the recipe below.
I learned how to make this recipe as a pre-teen in a vacation 3-day cooking class my sister and I took when we lived in Switzerland. My mother had a fancy French recipe for mousse au chocolat that took three days of prepping time. We made this recipe, and my whole family decided that this was much better than the fancy French version. So I hope you like this as well.

Here are the ingredients you'll need:
Sugar (4 T)
Whipping Cream (4 dl)
Eggs (4)
Dark Chocolate (200g - most chocolate bars are between 100g and 113g, you can just use two bars, the difference doesn't really matter)


Separate out your egg whites from your egg yolks.

Get out your sugar and your tablespoon measurement.


 Add 4 tablespoons of sugar to your egg yolks.


Whip your yolks with the sugar. You can simply mix it well with a work until it's a little bit foamy. 


Whip your egg whites until they are stiff.
The best way to test whether the egg whites have been whipped enough is, turning your bowl upside down. If the egg whites stay in, they are done. Be careful to not plop all your eggs on the ground! That would be a bummer. ^^
The reason you whip the egg whites first is because if there is any little fleck of dirt, the egg whites won't whip. So if you're using the same mixer for both, you want to do the egg whites first, or make sure you clean it very well.
Get out your whipping cream, 4 deciliters, 400 milliliters. Almost every liquid measuring cup shows milliliters on the other side of where the cups are shown.


Here I'll show you what the measurements say on the cup side, just in case.


Time to whip your cream. If you cleaned your bowl from the egg whites, rinse it out with cold water first. The cold bowl will make the cream whip easier. Make sure it's properly dried though.

Get your chocolate ready. Break it up into smaller pieces in a shallow bowl. Here I am using individual casserole dishes.
Boil up some water, and pour it over the chocolate. Make sure all your chocolate is covered.


Give it a minute or two. You can test to see if the chocolate has melted by sticking a butter knife into the chocolate and seeing if there is any resistance. Once it has melted, pour the water off.


Here is where I learned an important lesson. I had to redo the whole thing because of one tiny error. I poured the water off the chocolate too early. I didn't have the egg whites and whipped cream ready before I poured the water off. Then my chocolate started hardening back up and didn't blend in. So make sure everything is ready before you melt your chocolate.

Now start mixing your melted chocolate into your egg yolk sugar mixture.

Mix it all up so it's completely blended.


 One of my little tricks is taking a little bit of the whipped cream and blending it into the chocolate egg mix to smooth it out a little bit.

Blend it all together, so it'll fold in easier.


Then I put it into a larger bowl that will fit all of the ingredients.
Fold in your whipped cream. You fold in the cream first, because the egg white is more delicate and will deflate easier.
Again, make sure you fold it in. Don't stir it in.

Once the cream has been mostly blended start adding the egg whites.

Fold in your egg whites.
Tada!
Now refrigerate for at least 2 hours. This can easily be made in advance. I made it Saturday, and took it to my cousin's for dinner on Sunday. We were 7 people. 6 had mousse, and one went back for leftovers. So a double batch will easily be enough for 6.

Here is a picture of what it should look like on the spoon. You can see the air bubbles, that's what gives you the airy, light and fluffy texture.


OK, I hope you enjoy it!


Here's the quicky recipe:

Ingredients needed:
2 eggs
2 T sugar
2 dl whipping cream
100g dark chocolate

Preparation:
Separate eggs
Whip egg whites to stiff peaks
Whip whipping cream
Beat egg yolks with sugar

Put chocolate in a shallow dish, cover with boiling water, pour off the water, then mix the melted chocolate in with the egg yolk and sugar mixture
Fold in whipped cream
Fold in egg whites

Refrigerate for at least two hours.

Sunday, October 12, 2014

Chocolate Chip Cookies

I'll admit, debating on whether I should give up this recipe with all of its secrets was tricky. It's one of my most popular recipes. I made them yesterday for a movie night. When I walked through the door I wasn't greeted with "hello", but rather with "Did you bring the stuff?".

To do some baking I have a few trusty accessories that make it all better! What makes baking more fun, and less work?
Exactly my beloved pink kitchenaid. It is absolutely in my top 5 kitchen loves!

Next I am a messy, messy person and absolutely need some protection for my clothes. So I wear this lovely apron my sister gave me for my wedding.

Last but not least we need some music! I throw pandora.com onto my little tablet and let the music flow. Cooking is way more fun when you can sing along as loudly and off key as you feel like!

Also I would like to show you guys the best measuring spoons I have ever used. They are called spice measuring spoons and are designed to fit well into spice jars. I absolutely love them and would obviously recommend them. I think I got them at a little kitchen store in town a few years ago, but I don't think they are hard to find.


I decided that someone should benefit from my awesome recipes without me having to do the work, so here you are:

First off I'll just give you the recipe and then I will write a step by step of each stage of the recipe illustrated with my photographs, and add in all of my super secret tips that make this recipe more awesome.

Here's the recipe:


Ingredients needed:
220g butter (unsalted)
(220g of butter is just under two sticks. I cut approximately a quarter inch off each stick of butter. Further down I have a photo that shows how much I cut off.)
¾ c brown sugar
¾ c white sugar
1 t warm water
1 t baking soda
1 egg
1 t salt
2 ½ c flour +-
Chocolate chips as desired (½ – ¾)
1 t vanilla

Preparation:
Whip 220g butter
Add ¾ c brown sugar and ¾ c white sugar
Add 1 t warm water, 1 t baking soda, 1 t salt, and whip in 1 egg.
Add 2 ½ c +- flour little by little
Add chocolate chips as desired

Bake at 190 C or 375 F for around 11 minutes


Now here comes the step by step:

These are all the ingredients you need:
Baking soda, brown sugar, white sugar, salt, flour, butter, vanilla extract, egg, and chocolate chips.
Now this is my first pro tip: use milk chocolate chips as opposed to semisweet. Most people don't notice it per se, but in general everyone likes the cookies better with milk chocolate chips.
Here are some groupings of the individual ingredients. 


Ok, get your butter ready for the kitchenaid (or whatever mixer you use. I've made this dough completely by  hand when I didn't have even a mixer. So it's not impossible, just harder work.).
The way I measure it is, I take two sticks of unsalted butter and cut a quarter inch piece off either end.
Unsalted is important as you want to be in control of how much salt you add. However if you have no other option, omit the salt later on in the recipe.

Then cut the butter in similar slices and throw it into your mixing bowl.

Once you have that, cream the butter. It should look something like this:

Now we add the sugars. 3/4 cups each.


Add it to the butter and mix well.

This is one of my secret ingredients. I add a tea spoon of luke warm water. This is one of the reasons my cookies are nice and soft.


Next you add the baking soda.


Make sure you blend/mix everything after adding any new ingredients.
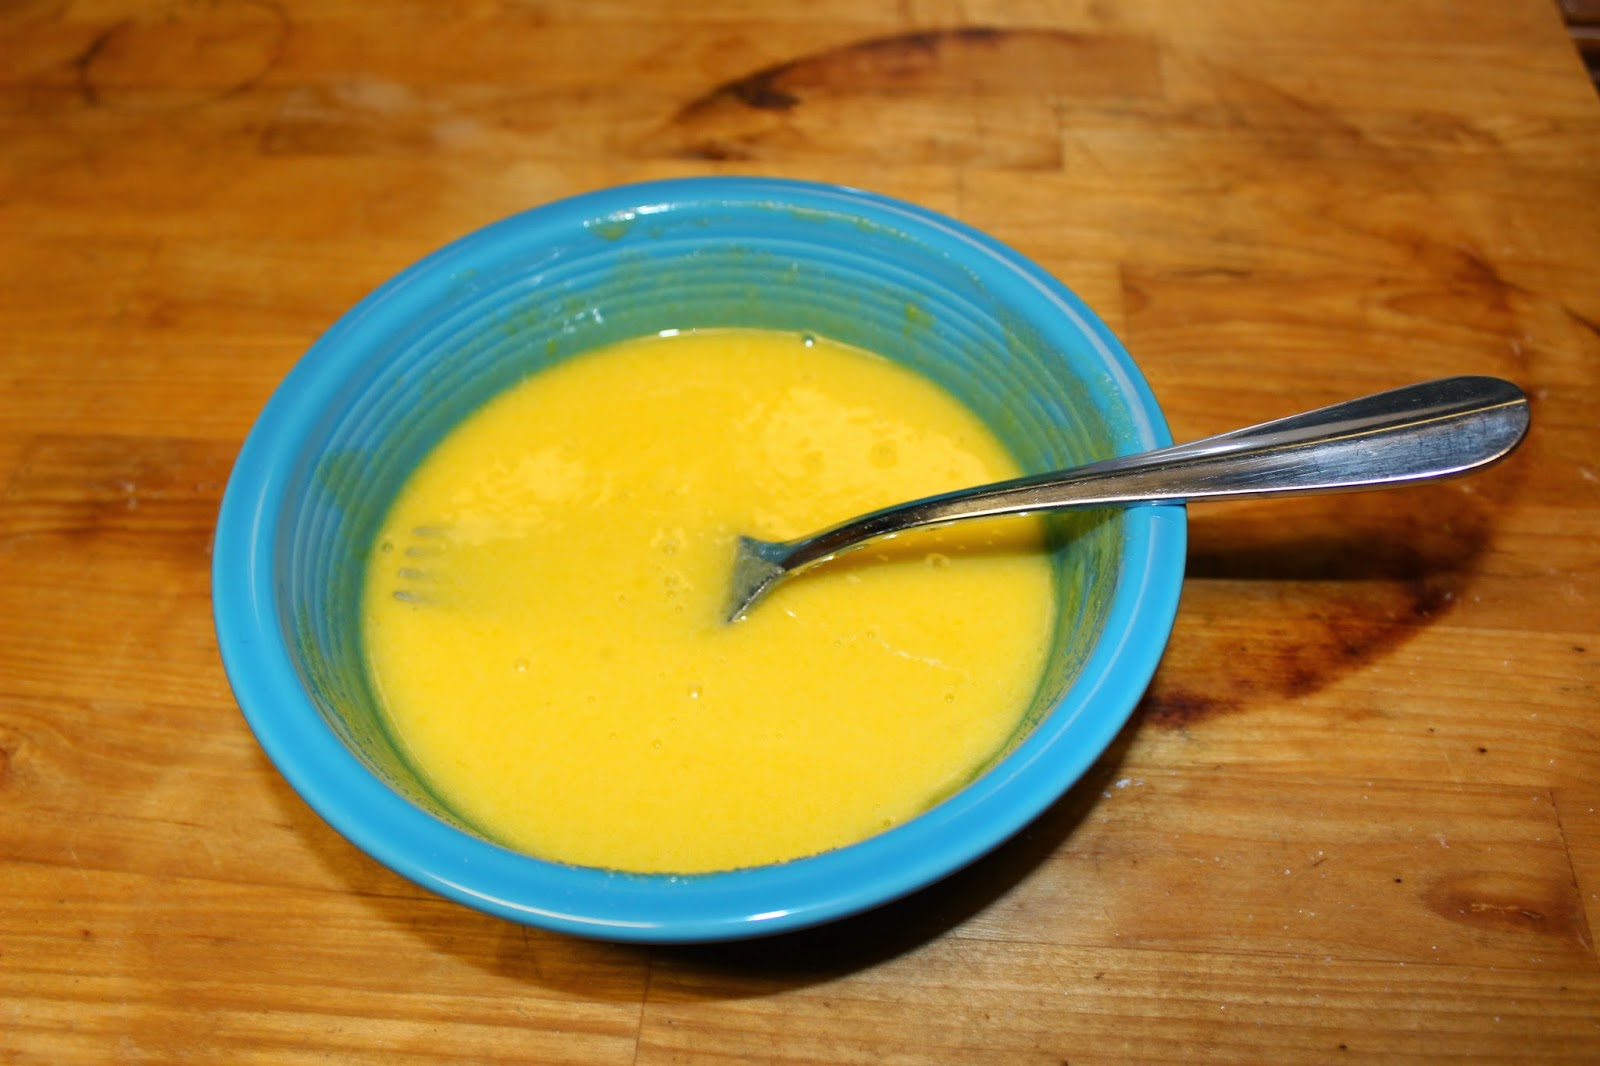
Here comes the egg:
Pro tip number two: always crack your egg into a separate bowl first! The reason you do this is in case the egg has gone bad. If it has gone bad and you cracked it into a separate bowl, then you haven't ruined all of your other ingredients and can just throw the egg away. If you cracked it into the mixing bowl and it has gone bad, you need to throw out your butter, sugar, baking soda, etc. If that happens, you might not have enough ingredients left over to redo the beginning.
Believe me! Once you've had to throw out all your ingredients because of a bad egg, you'll always use a separate bowl. :)

Add some salt:

Ok, so the recipe says add one teaspoon of vanilla extract. Lets be honest, I never measure that, but I know I add way more than just one teaspoon. I love vanilla and make my own vanilla extract. I just add a really healthy splash.


Once all of these ingredients have been added, comes the flour. Add 2 1/2 cups. I usually add them in half cup increments so my mixer doesn't explode flour all over my kitchen.


Here is what the dough looks like after you add the flour and before you add the chocolate chips:


Now add the chocolate chips. My mom's recipe adds like a cup and a half of chocolate chips. I just dump the whole bag in, because chocolate!

Looking good!
And presto: cookie dough!

Pro tip number 3: I don't use a cookie sheet! I use a pizza stone! This makes the cookies so much better. I can't really explain, but it makes a huge difference. Often on a cookie sheet the sugar burns and caramelizes on bottoms of your cookies. On the pizza stone they stay nice and moist.
Obviously the stone doesn't stay nice and pretty like that. It just happens, that I got a new stone as a graduation gift from friends and used it for the first time to make the cookies.

Now this is what the cookies look like all portioned out onto the stone:


Here they are fresh from the oven:


Now, you do not want to leave the cookies on the stone for too long. The stone is porous and will suck all the moisture out of the cookies and make them rock hard after around 10-20 minutes or so. I transfer them onto a cooling rack.


Pro tip number four: The first batch of cookies will take about 13 minutes as the stone is still cold. The following batches will only take around 11 minutes as the stone is hot and begins cooking the dough as soon as it's dropped onto the stone.


That's all for now folks! I hope you enjoy my favorite, prize winning cookies!