Now most of you will say: who needs a recipe for regular old spaghetti? You may have a point, but since I get so many compliments on mine I'm gonna sock it to you anyway. Because I said so! (Hah, couldn't resist practicing for eventual motherhood.)
The funny thing about this spaghetti is that I didn't learn it from my mom, the big cook, but rather from my dad her dedicated sous chef. My mom pretty much hates ground beef and isn't huge on tomatoes either. Having spaghetti was a fun treat for us when mom was gone and dad was in charge. Much much better than his improvised Indian style shrimp. My poor dad, I guess I've always been a snarky know it all. He tried so hard, and was so proud that he was creative in the kitchen. I had like two bites and asked him for the recipe. He was so excited until I continued and ended my sentence with: "...so I can make it and feed it to my enemies!" Over dramatic 10-year-olds. Now I feel like I should call my dad and apologize for being a little shit and crushing his cooking creativity.
Anyway, maybe we should start with the cooking instead of rambling about my childhood.
Here's what you'll need:
Ground beef large pack (I prefer lean so my sauce doesn't get so greasy)
Spaghetti noodles (honestly you can make this with whatever noodles you have handy)
2 large cans crushed tomatoes
1 small can petite diced tomatoes (You can get them with Italian seasoning, or with chilies for an extra kick)
1 can tomato paste (they usually come in tiny and small, I like the bigger version)
2 cans mushrooms, or fresh when you can get them
Red wine (Can be omitted or substituted with white wine, red is just more traditional)
Worcestershire Sauce
Mustard
Italian Seasoning (or separate: oregano, thyme, basil, rosemary, marjoram)
Paprika
Cayenne (You'll notice I pretty much put that on everything)
Salt & Pepper
(If you want, a shot of soy sauce, maggi, or both)
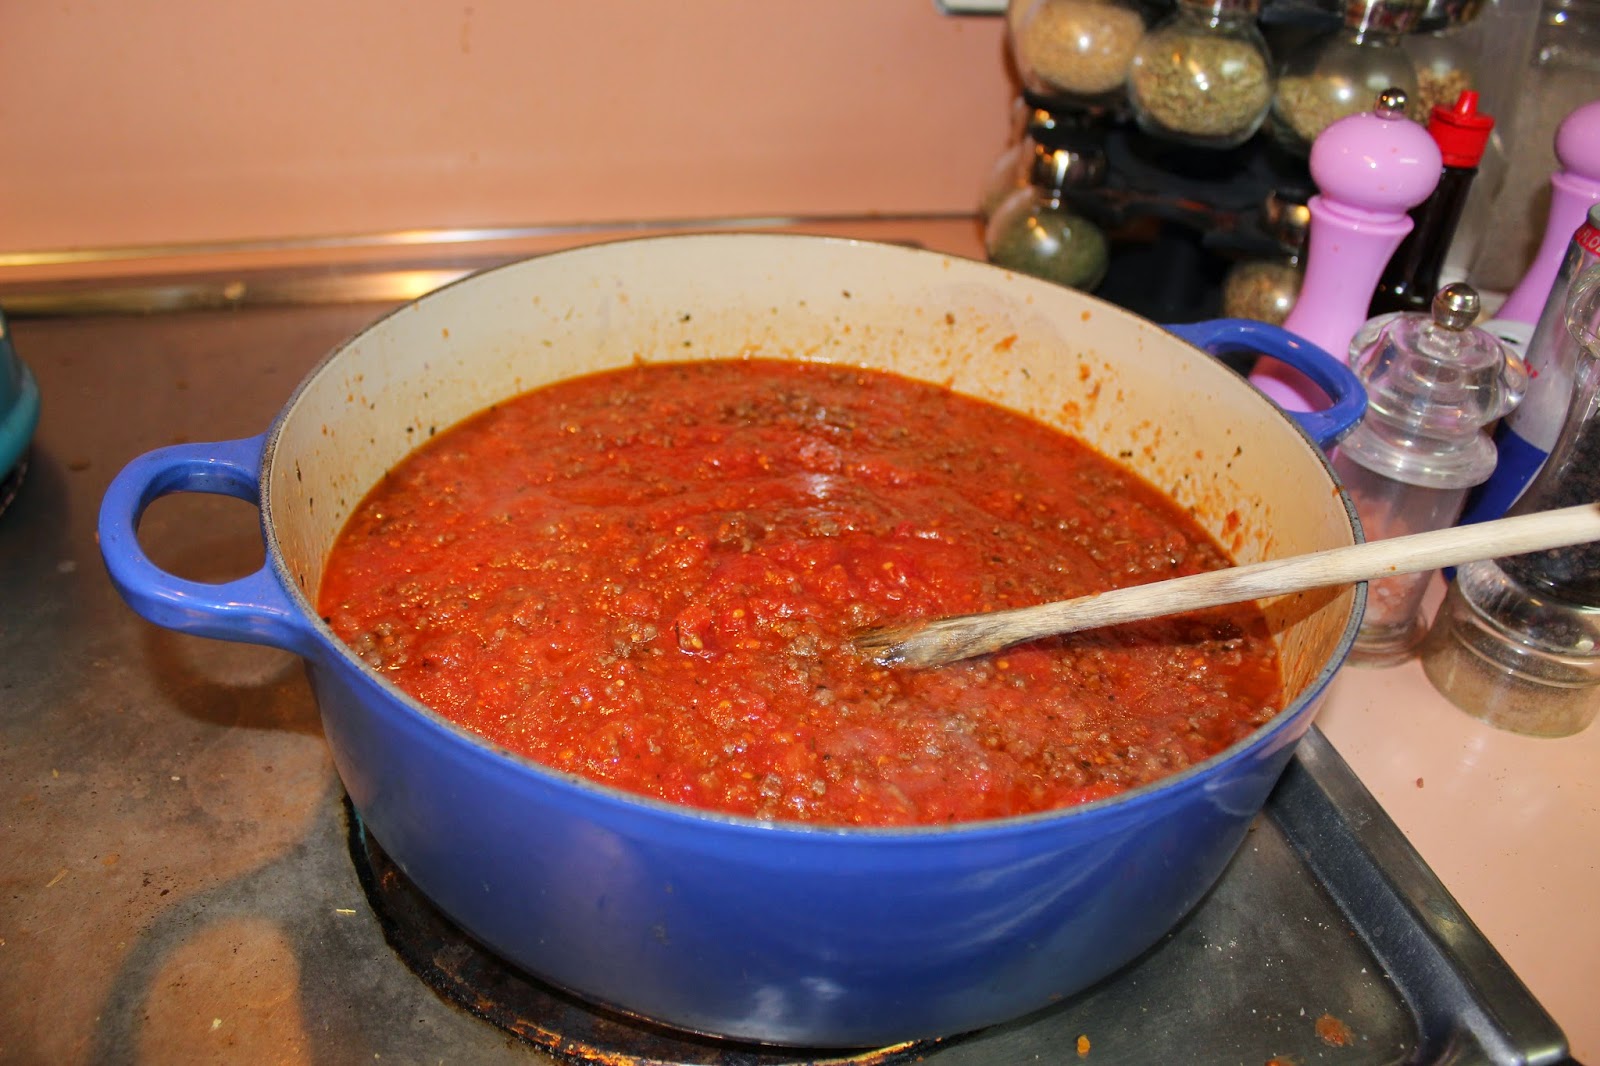
I make my sauce in a big dutch oven, as I only know how to make it in quantities that will feed armies... ;) I used to make it in a sauce pan, which you totally can, I just find this handier, since dutch ovens (or rather my french oven, oh, la, la) are really my go to work horse. Nowadays when I cook I almost always use my dutch oven, sometimes even in baking like this bread here. This bread would also be perfect to turn into garlic bread to go along with your spaghetti.
As usual I like to preheat my dutch oven and preseason my meat with all the dry spices (salt, pepper, cayenne, paprika, and Italian seasoning) on one side.
Now toss the meat seasoned side down into your dutch oven.
And add another layer of seasoning on top. I like to add lots of seasoning throughout the process.
Brown your meat until it's mostly cooked.
Now deglaze your pot with some red wine. A cup, more or less, however much seems right to you.
Let most of the alcohol boil off, so you have the concentrated flavors, but not the alcohol taste.
Now you can add your canned tomatoes (crushed and diced)
I now also add the liquid seasonings: mustard, Worcestershire sauce, and soy sauce and/or maggi.
Now I add some more of the Italian seasoning, paprika, and cayenne because I like spices and herbs.
Just because I thought it was a little bit pretty you get a close up pic too.
Once that's all mixed in together, I add in the shrooms. You could add the mushrooms earlier, it doesn't really matter. But now seems as good of a time as any.
Now I also add my tomato paste. The purpose of it is, that it will help thicken the sauce.
Since I like a thicker chunkier sauce I will let it simmer for some time to help it thicken up. This particular sauce has a bit higher tomato to meat ratio than I would usually do, but they are making the meat packages a bit smaller at the store now. This is again kind of up to you to see what your personal preference is.
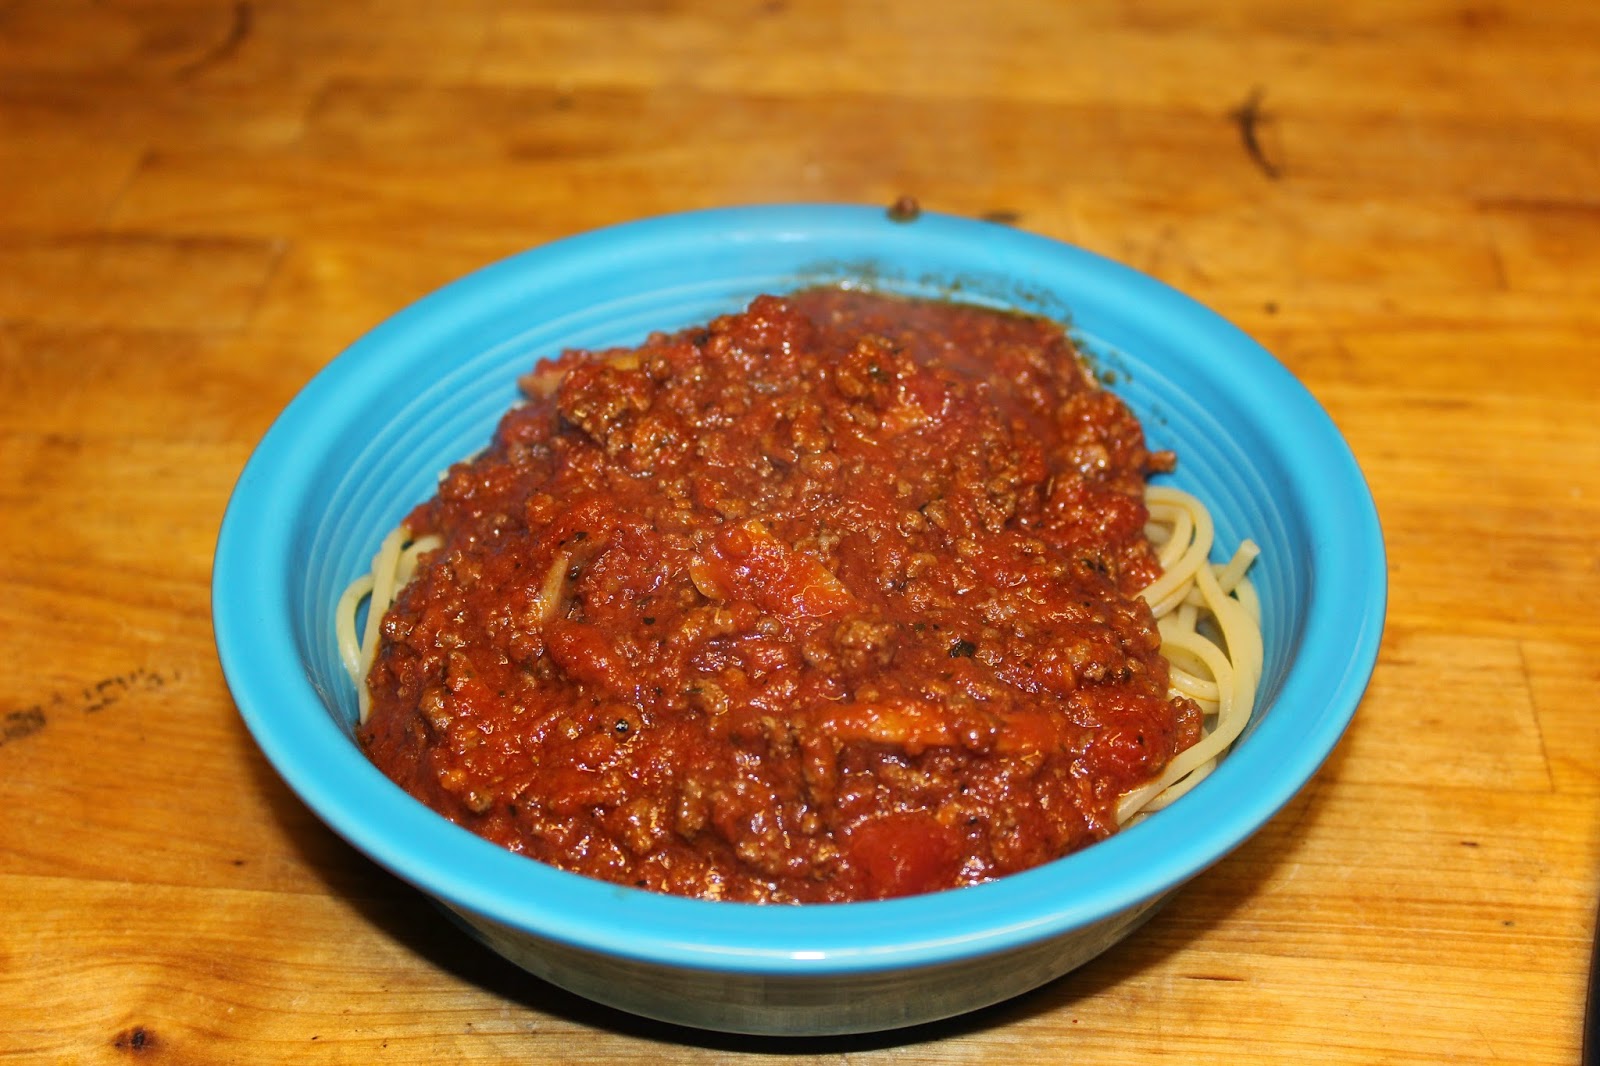
Serve and enjoy:
Quickie Summary:
Ingredients:
Ground beef ca. 2-3 lbs (I prefer lean so my sauce doesn't get so greasy)
Spaghetti noodles
2 large cans crushed tomatoes
1 small can petite diced tomatoes
1 can tomato paste (they usually come in tiny and small, I like the bigger version)
2 cans mushrooms, or fresh when you can get them
Red wine (Can be omitted or substituted with white wine, red is just more traditional)
Worcestershire Sauce
Mustard
Italian Seasoning (or separate: oregano, thyme, basil, rosemary, marjoram)
Paprika
Cayenne
Salt & Pepper
(If you want, a shot of soy sauce, maggi, or both)
Season, then brown meat..
Add more seasonings.
Deglaze with wine.
Let the alcohol cook out.
Add crushed and diced tomatoes.
Add more seasoning.
Add mustard, Worcestershire sauce, soy sauce and maggi if you choose.
Add your mushrooms.
Add tomato paste to thicken the sauce.
Simmer down until you've reached the desired consistency.
This blog is a bit about everything and a bit about nothing. I am leaving this very open to write about whatever I feel like. I've started with recipes for now, but will be posting about any and all crafty endeavors I have. Currently I'm working on reinstating Sunday night dinners, so there should be a new food post either every Sunday evening or Monday.
Showing posts with label home made. Show all posts
Tuesday, February 24, 2015
Tuesday, November 18, 2014
Easiest No-Knead Bread Ever!
Have I ever told you about the easiest, most delicious, artisan style bread ever?
Nope?
Well, today's your day!
Ok, ok, fine, I totally knew I haven't given you the recipe yet, but I'm about to remedy that.
Frugal Living NW has a super detailed post about it on their website, with some super nice detailed pictures too. However it's a bit of a long post to go through each time I want to bake the bread, so I'm giving you a little quickie write up of it.
As I said this is crazy simple. It just involves a long rise time, so I suggest making it the evening before you want to bake it, or if you're an early riser you can make it in the morning and bake it in the evening.
What you need is flour, salt, yeast, and sugar. You also need a Dutch oven or any other pot that can be in the oven at 425 degrees Fahrenheit. Plastic knobs aren't recommended. I own Le Creuset, Martha Stuart, and Fiesta Ware Dutch/French Ovens. My favorite is my Le Creuset one. The Martha Stuart one is good too. I wouldn't buy the Fiesta Ware ones again, but since I have them they do the job. As it happens, the one I'm using in the pics is the Fiesta Ware brand one, I believe it's 5 quarts. The pot is crucial to making this bread. My sister and I found almost identical recipes at the same time while living on different continents. We both told our mom about it and she tested it. She loved how fabulous the crust turns out so much, that she's now baking all of her breads in Dutch Ovens.
The dough is very wet, and the confined space in the pot makes it so the bread is not only baked, but also steamed to a certain extent. This makes the crunchiest crust and super fluffy insides.
6 cups of flour
1/2 t. yeast
2 1/2 t. salt
2 2/3 cups cold water
Put your 6 cups of flour in a large bowl.
Add your 1/2 teaspoon of yeast.
Now add your 2 and 1/2 teaspoon of salt. (You could reduce the salt if you need to, but it doesn't taste salty)
Blend your dry ingredients. You can also add extras. I've cut up rosemary and added it in. You can add cheese, or whatever else strikes your fancy.
Add your 2 and 2/3 cups of cold water and stir.
I use a danish dough hook, but usually end up finish mixing it with my hands. You're just mixing, not kneading. You want it all mixed together so there isn't any loose flour. The dough is quite wet.
This is pretty much what your dough should look like.
Now just cover up your dough with some plastic wrap or a towel and let it rise for 12-18 hours. Honestly I've let it rise for longer than that and it's been just fine. I just wouldn't go less, and I probably wouldn't go over around 24 hours or so.
12-18 hours go get your dough and take a look at it.
Get a towel ready (you can use parchment paper instead, but I feel like that wast stickier and less green.
Sprinkle the towel with a bunch of flour to help combat the sticky flour.
Take the dough out of the bowl, form it into a ball, and place it on the towel.
I add a whole bunch of sprinkled flour on top. Then cover it with the other half of the towel and let it rise for another 2 hours.
While the dough needs to rise another half hour, you also need to preheat your pot in the oven. So what I do is set the timer for 1.5 hours, then turn the oven to 425 and throw the pot it. Set the timer for another half hour or so.
Get your preheated pot out of the oven. Obviously be careful and use oven mitts.
Uncover your dough and use the towel to pick up the dough.
Plop the dough into the pot. It really doesn't matter if it's crooked, or whatever! Every singe loaf I've made has turned out beautifully!
Put the lid back on and bake it for 45 minutes. Then remove the lid and bake it for another 10-15 minutes to brown the crust.
Ok, look at this beauty!
Don't think you have to oil the pot or anything like that, the bread will come right out. I've never had any of them stick. I just use a metal spatula, pop it right out and let it cool on the cooling rack. That is the hardest thing for me. It smells so good, but if you don't let it cool some, it'll be kinda sticky and like glue on your knife.
Ingredients:
6 cups of flour
1/2 t. yeast
2 1/2 t. salt
2 2/3 cups cold water
Mix dry ingredients, add water, mix into a dough.
Cover and let rise for 12-18 hours.
Prepare towel with flour.
Form dough into ball, place on towel, flour, and cover.
Let rise 2 hours.
Preheat dutch oven at 425 Fahrenheit.
Plop dough into pot, replace lid, and bake for 45 minutes.
Remove lid and bake for another 10-15 minutes.
Remove from pot and let cool on a cooling rack.
Sunday, October 12, 2014
Chocolate Chip Cookies
I'll admit, debating on whether I should give up this recipe with all of its secrets was tricky. It's one of my most popular recipes. I made them yesterday for a movie night. When I walked through the door I wasn't greeted with "hello", but rather with "Did you bring the stuff?".
To do some baking I have a few trusty accessories that make it all better! What makes baking more fun, and less work?
Exactly my beloved pink kitchenaid. It is absolutely in my top 5 kitchen loves!
Next I am a messy, messy person and absolutely need some protection for my clothes. So I wear this lovely apron my sister gave me for my wedding.
Last but not least we need some music! I throw pandora.com onto my little tablet and let the music flow. Cooking is way more fun when you can sing along as loudly and off key as you feel like!
Also I would like to show you guys the best measuring spoons I have ever used. They are called spice measuring spoons and are designed to fit well into spice jars. I absolutely love them and would obviously recommend them. I think I got them at a little kitchen store in town a few years ago, but I don't think they are hard to find.
I decided that someone should benefit from my awesome recipes without me having to do the work, so here you are:
First off I'll just give you the recipe and then I will write a step by step of each stage of the recipe illustrated with my photographs, and add in all of my super secret tips that make this recipe more awesome.
Here's the recipe:
Now this is my first pro tip: use milk chocolate chips as opposed to semisweet. Most people don't notice it per se, but in general everyone likes the cookies better with milk chocolate chips.
Then cut the butter in similar slices and throw it into your mixing bowl.
Once you have that, cream the butter. It should look something like this:
Now we add the sugars. 3/4 cups each.
Add it to the butter and mix well.
This is one of my secret ingredients. I add a tea spoon of luke warm water. This is one of the reasons my cookies are nice and soft.
Next you add the baking soda.
Make sure you blend/mix everything after adding any new ingredients.
Here comes the egg:
Pro tip number two: always crack your egg into a separate bowl first! The reason you do this is in case the egg has gone bad. If it has gone bad and you cracked it into a separate bowl, then you haven't ruined all of your other ingredients and can just throw the egg away. If you cracked it into the mixing bowl and it has gone bad, you need to throw out your butter, sugar, baking soda, etc. If that happens, you might not have enough ingredients left over to redo the beginning.
Believe me! Once you've had to throw out all your ingredients because of a bad egg, you'll always use a separate bowl. :)
Add some salt:
Ok, so the recipe says add one teaspoon of vanilla extract. Lets be honest, I never measure that, but I know I add way more than just one teaspoon. I love vanilla and make my own vanilla extract. I just add a really healthy splash.
Once all of these ingredients have been added, comes the flour. Add 2 1/2 cups. I usually add them in half cup increments so my mixer doesn't explode flour all over my kitchen.
Here is what the dough looks like after you add the flour and before you add the chocolate chips:
Now add the chocolate chips. My mom's recipe adds like a cup and a half of chocolate chips. I just dump the whole bag in, because chocolate!
Looking good!
And presto: cookie dough!
Pro tip number 3: I don't use a cookie sheet! I use a pizza stone! This makes the cookies so much better. I can't really explain, but it makes a huge difference. Often on a cookie sheet the sugar burns and caramelizes on bottoms of your cookies. On the pizza stone they stay nice and moist.
Obviously the stone doesn't stay nice and pretty like that. It just happens, that I got a new stone as a graduation gift from friends and used it for the first time to make the cookies.
Now this is what the cookies look like all portioned out onto the stone:
Here they are fresh from the oven:
Now, you do not want to leave the cookies on the stone for too long. The stone is porous and will suck all the moisture out of the cookies and make them rock hard after around 10-20 minutes or so. I transfer them onto a cooling rack.
Pro tip number four: The first batch of cookies will take about 13 minutes as the stone is still cold. The following batches will only take around 11 minutes as the stone is hot and begins cooking the dough as soon as it's dropped onto the stone.
That's all for now folks! I hope you enjoy my favorite, prize winning cookies!
To do some baking I have a few trusty accessories that make it all better! What makes baking more fun, and less work?
Exactly my beloved pink kitchenaid. It is absolutely in my top 5 kitchen loves!
Next I am a messy, messy person and absolutely need some protection for my clothes. So I wear this lovely apron my sister gave me for my wedding.
Last but not least we need some music! I throw pandora.com onto my little tablet and let the music flow. Cooking is way more fun when you can sing along as loudly and off key as you feel like!
Also I would like to show you guys the best measuring spoons I have ever used. They are called spice measuring spoons and are designed to fit well into spice jars. I absolutely love them and would obviously recommend them. I think I got them at a little kitchen store in town a few years ago, but I don't think they are hard to find.
I decided that someone should benefit from my awesome recipes without me having to do the work, so here you are:
First off I'll just give you the recipe and then I will write a step by step of each stage of the recipe illustrated with my photographs, and add in all of my super secret tips that make this recipe more awesome.
Here's the recipe:
Ingredients
needed:
220g butter
(unsalted)
(220g of butter is just under two sticks. I cut approximately a quarter inch off each stick of butter. Further down I have a photo that shows how much I cut off.)
¾ c brown
sugar
¾ c white
sugar
1 t warm
water
1 t baking
soda
1 egg
1 t salt
2 ½ c flour
+-
Chocolate
chips as desired (½
– ¾)
1 t vanilla
Preparation:
Whip
220g butter
Add
¾ c brown sugar and ¾ c white sugar
Add
1 t warm water, 1 t baking soda, 1 t salt, and whip in 1 egg.
Add
2 ½ c +- flour little by little
Add
chocolate chips as desired
Bake
at 190 C or 375 F for around 11 minutes
Now here comes the step by step:
These are all the ingredients you need:
Baking soda, brown sugar, white sugar, salt, flour, butter, vanilla extract, egg, and chocolate chips.Now this is my first pro tip: use milk chocolate chips as opposed to semisweet. Most people don't notice it per se, but in general everyone likes the cookies better with milk chocolate chips.
Here are some groupings of the individual ingredients.
Ok, get your butter ready for the kitchenaid (or whatever mixer you use. I've made this dough completely by hand when I didn't have even a mixer. So it's not impossible, just harder work.).
The way I measure it is, I take two sticks of unsalted butter and cut a quarter inch piece off either end.
Unsalted is important as you want to be in control of how much salt you add. However if you have no other option, omit the salt later on in the recipe.
Then cut the butter in similar slices and throw it into your mixing bowl.
Once you have that, cream the butter. It should look something like this:
Now we add the sugars. 3/4 cups each.
Add it to the butter and mix well.
This is one of my secret ingredients. I add a tea spoon of luke warm water. This is one of the reasons my cookies are nice and soft.
Next you add the baking soda.
Make sure you blend/mix everything after adding any new ingredients.
Here comes the egg:
Pro tip number two: always crack your egg into a separate bowl first! The reason you do this is in case the egg has gone bad. If it has gone bad and you cracked it into a separate bowl, then you haven't ruined all of your other ingredients and can just throw the egg away. If you cracked it into the mixing bowl and it has gone bad, you need to throw out your butter, sugar, baking soda, etc. If that happens, you might not have enough ingredients left over to redo the beginning.
Believe me! Once you've had to throw out all your ingredients because of a bad egg, you'll always use a separate bowl. :)
Add some salt:
Ok, so the recipe says add one teaspoon of vanilla extract. Lets be honest, I never measure that, but I know I add way more than just one teaspoon. I love vanilla and make my own vanilla extract. I just add a really healthy splash.
Once all of these ingredients have been added, comes the flour. Add 2 1/2 cups. I usually add them in half cup increments so my mixer doesn't explode flour all over my kitchen.
Here is what the dough looks like after you add the flour and before you add the chocolate chips:
Now add the chocolate chips. My mom's recipe adds like a cup and a half of chocolate chips. I just dump the whole bag in, because chocolate!
Looking good!
And presto: cookie dough!
Pro tip number 3: I don't use a cookie sheet! I use a pizza stone! This makes the cookies so much better. I can't really explain, but it makes a huge difference. Often on a cookie sheet the sugar burns and caramelizes on bottoms of your cookies. On the pizza stone they stay nice and moist.
Obviously the stone doesn't stay nice and pretty like that. It just happens, that I got a new stone as a graduation gift from friends and used it for the first time to make the cookies.
Now this is what the cookies look like all portioned out onto the stone:
Here they are fresh from the oven:
Now, you do not want to leave the cookies on the stone for too long. The stone is porous and will suck all the moisture out of the cookies and make them rock hard after around 10-20 minutes or so. I transfer them onto a cooling rack.
Pro tip number four: The first batch of cookies will take about 13 minutes as the stone is still cold. The following batches will only take around 11 minutes as the stone is hot and begins cooking the dough as soon as it's dropped onto the stone.
That's all for now folks! I hope you enjoy my favorite, prize winning cookies!
Subscribe to:
Posts (Atom)