Since I worked Saturday and today in addition to my regular shifts, I figured I would do a quick and dirty recipe. Lots of bang for your buck though. I learned this lemon bar recipe from one of the cooks at the retirement home I worked at when we lived in Portland. It's still one of my favorite ones. I hope you'll like it.
Here's what you'll need:
2 sticks
butter (8 oz)
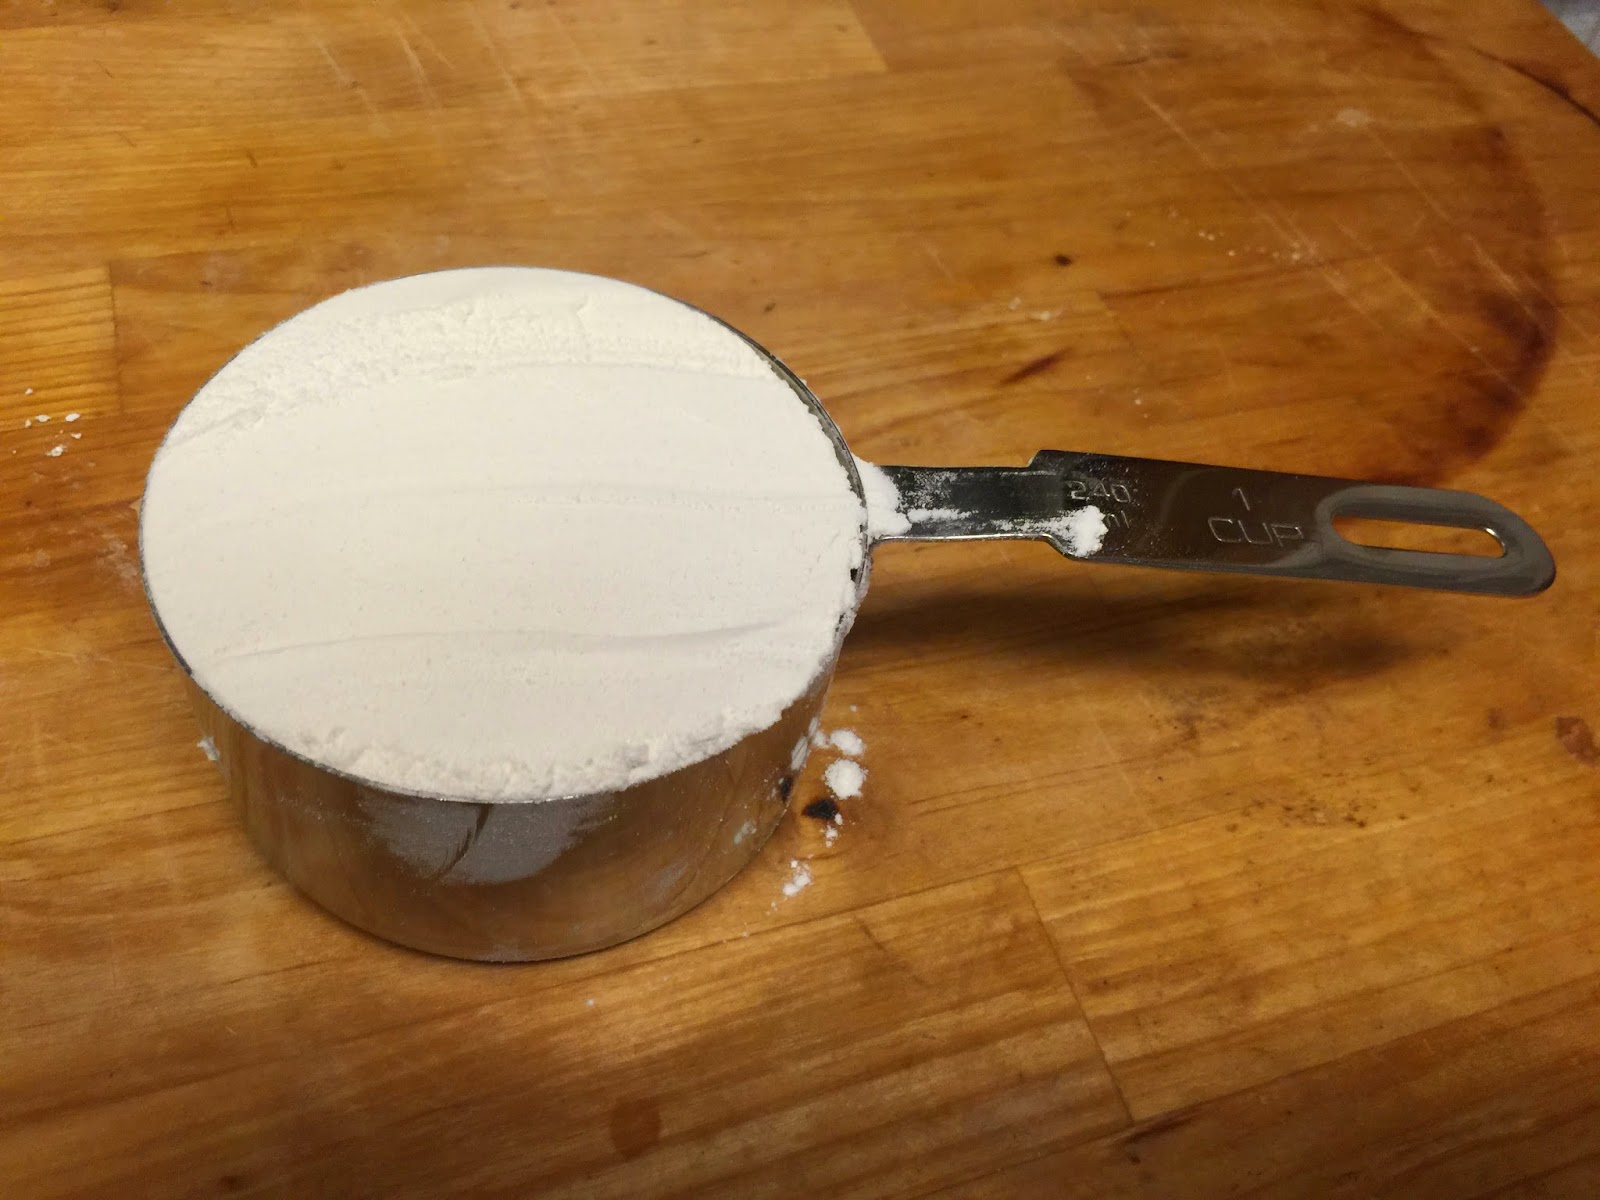
2 cups flour
½ c
confectioner’s sugar (powdered)
4 beaten
eggs
4 T flour
¼ c lemon
juice
1 T grated
lemon peel
2 c sugar
As you can see in the picture I am also using bottled lemon juice. If you can use fresh pressed, is always worth it, however if you're pressed for time, or just too tired to care you can absolutely use the bottled juice. Most people won't notice. If you can, the lemon zest is really worth it, and does give a stronger lemon flavor, but I have also made these lemon bars successfully without. Personal choice then.
The lemon bars are made in two layers with different baking time. The bottom part of the lemon bar tastes like shortbread and has that type of consistency. The top layer is ooey gooey sweet lemon.
To make the first layer pull out your flour, powdered sugar, and two sticks of butter.
Cut your butter into smaller pieces and add to your mixer.
Add half a cup of powdered sugar.
Blend the sugar and butter.
Next add the two cups of flour.
Start blending the ingredients slowly so you don't have a flour explosion in your kitchen. You may have to scrape some of the butter mix off of the side of the mixing bowl in between.
Shoot for this consistency:
Take all of the dough and add it to a rectangular baking dish.
As you can see it doesn't look like a lot of dough and you might be worried that you won't be able to cover the pan entirely, but you can. Put pieces in all of the corners and center and start smushing them down. I use my knuckles, and then smooth it over with a spatula. A thin layer is all you need.
Place the dish in your preheated oven at 325 fahrenheit. Bake for 20 minutes.
While the bottom layer is baking it's time to start mixing up the batter for the top layer.
Crack your four eggs. Always crack each egg in a separate bowl before adding them to the mixing bowl. This will prevent the other ingredients being spoiled if there is a bad egg in the batch.
I didn't use 5 eggs, one of my eggs just happened to have a double yolk.
Add 4 tablespoons of flour.
Add 2 cups of sugar.
Add 1/4 cup of lemon juice.
Grab two lemons. Make sure you clean the peel properly.
Now zest the peel.
This looks to be at least 1 tablespoon, and is your final ingredient.
Add the zest to your other ingredients in your mixer. I usually scrape the first dough out really well, but don't wash it before making the lemon batter. It works just fine since they are all going to be mixed anyway.
Blend it all really well until it looks somewhat like this:
Once the twenty minutes are up, pull the first layer out of your oven.
Pour your lemon mix on top.
Return to the oven and bake for another 22 minutes.
I recommend letting it cool for a while before you start cutting it into bars. You can make them any size you want. I made larger ones, but you could also cut it into really little squares and make each one bite-sized. I've made them like that before for a fancy tea party.
I hope you enjoy these lemon bars as much as we do. I posted a picture of this, and immediately got a response from a friend who will come visit to snag some lemon bars tomorrow. Jep, I'm talking about you Mary! ;)
And here is the condensed recipe:
Ingredients
needed:
2 sticks
butter (8 oz)
2 cups flour
½ c
confectioner’s sugar (powdered)
4 beaten
eggs
4 T flour
¼ c lemon
juice
1 T grated
lemon peel
2 c sugar
Preparation:
Heat
oven to 325f
Blend
butter, 2 c flour and ½ c powdered sugar
Pat
into ungreased 13x9x2 inch pan
Bake
for 20 minutes
Blend
Eggs, 4 T flour, 2 c sugar, lemon juice and peel.
Pour
over first layer after it has been baked for 20 minutes, then return to the
oven and bake for another 22 minutes.