Sunday, November 30, 2014

Apple Pie

Is there anything more American than apple pie? It is something many people associate with America, not lastly because of the movies. However, lets not do anything nasty with this pie, ok? My husband loves apple pie and my mom always has to make him a few when she comes to visit. I rarely make them. I'm not a huge fan of pie or cake. For some reason pie always seems so intimidating, but actually it's pretty easy.
I used a Julia Child's recipe for the dough and an abridged recipe of hers for the filling, modified according to my mom's recommendations.
Lets get cracking! Starting with the dough recipe:

So Julia cares more than I do. Or, maybe not...
She calls for 1.5 cups of all purpose flour and half a cup of plain bleached cake flour.
2 cups of flour it is!

OK, for real now!
2 c flour
1 1/2 sticks unsalted butter
2 T shortening
2 T sugar
1/4 t salt
1/2 c cold water (ice cold, baby!)

Put your two cups of flour in the standmixer. (I hope you have one. Otherwise you can use a bowl and pastry cutter)

Add your 2 T sugar.

Add your salt.
Now mix your dry ingredients.

Cut in your 2 T of shortening.

Cut in your butter.

This means cut it into smaller pieces and mix with your beater until the butter is in pea sized pieces.

Now you can add in your 1/2 c water. Make it as cold as you can.

Mix it up. But not too long, you don't want the dough to get too tough. I wrapped it up and put it in the fridge while I made the filling.

Now lets get started on the filling.
4 T brown sugar
2 T cinnamon
2 T flour
Lemon juice (The juice of half a lemon and the lemon zest - the lemons at the store all looked nasty so I used bottled juice, a good healthy squeeze)
5 Apples
Nutmeg
Clove (My mom recommended a tad bit of clove, but I was out so I didn't add it.)

First I put the cinnamon and sugar into a bowl and added the lemon juice. I also added a dash of nutmeg. I would have added a little bit of clove if I would have had it.

Mix it all up.

Now I start peeling and cutting up the apples. After each apple I would mix it up with the lemon juice and spice mix. The lemon juice will help prevent the apples from getting brown. It's also like a little marinade.
Here you can see that I was a space cadet and forgot to peel one of the apples. Oh, well, vitamins, right? The funny thing, I made two batches, and did it on both of them. Oops.

When you've cut up all of your apples add 2 to 2.5 T flour and mix it all together.

Now it's time to get your pie dough back out of the refrigerator. Cut it in half. Return one half back to the refrigerator. Roll the other half out and cut it to size so you can line your pie dish.

Put the dough into the pie dish and trim the edges down.

Now that you've lined your pie dish, add in your apples.

Now I took a second pie dish to cut out another round that's a bit bigger than your pie dish for the top.

I used a cookie cutter to cut out some shapes. My smallest cookie cutter is a dragon. Then I put the cut out dragons back onto the blank spots.

Here you can see on my second pie I sprinkled it with sugar too.
This pie is a bit different. I used whole wheat pastry dough that I was given. I was curious to see how it would turn up. My husband said they tasted almost the same, so if you feel like trying out a slightly healthier version, go for it.

So when I asked my husband to help take pictures since my hands were covered in flour, he snuck in one of me. You get to see how excited I am when I'm making pies at 1 in the morning. lol

I didn't bake my pie until we got to my brother-in-law's house. I made a quickie little egg wash out of an egg and a bit of half and half before I baked it. Then I put it in the oven for 45 minutes at 375 degrees Fahrenheit. It could have probably stayed in a bit longer if you like.

And here you can see the two pies next to each other. The left one was made with the whole wheat pastry dough, and the other with regular white.


Serve with ice cream or whipped cream. Yumm!

Friday, November 28, 2014

Parmesan Artichoke Dip

This is one of my most popular party recipes. I make it all the time, especially when I have vegetarians over. Now while Parmesan is apparently not technically vegetarian, I don't think any of my friends who are vegetarians go so far. Regardless, it's delicious and you should definitely make it as an appetizer for your next party.
So here goes:

What you will need:
2 cans of artichoke hearts
1 - 2 cups of mayonnaise (I use about 1 to 1 1/2)
1 cup Parmesan (I use more like 2 because I love cheese)
1/2 t garlic powder (I don't use it because it makes me sick, but go for it if you like garlic)
Dash of season salt
A few jalapenos (optional)
(A baking dish, I use a corning-ware souffle dish)

Go ahead and drain your artichokes.


Chop your artichokes roughly.


Now drain your jalapenos. I usually get the smallest can they have, but still don't use all of it. It depends on what you like. They can be omitted too, if desired.


I'm not sure why the cans always have some carrot pieces in it, but I decided why not add a piece. Now chop that all up too.


Ok, put your artichoke and jalapeno into your dish.
Add however much mayo you want. Usually I only add one cup, but this time I did one and a half and it was really nice too.
Add your Parmesan. The recipe calls for 1 cup. Usually I use the entire 1.5 cup sized bag of Parmesan, and keep some extra for the top.


Mix it all up. and then smooth over the top.
Also, notice, I clean up the edges with a piece of paper towel, so it bakes neatly. Otherwise you may have burnt, crispy pieces. I just also like the neater look too.

I sprinkled Parmesan all over the top of it, to form a type of crust. That is optional though.


Now bake it at 350 for 20 minutes. There you now have a delicious hot dip. Serve with pita chips, crackers of your choice, or even spread onto bread.
Hope you like it!

Tuesday, November 25, 2014

Makeup Purge

So, last weekend I decided I needed to clean my bathroom. Really clean it, not just wipe off the counters, etc, but also go through all the drawers and sort through everything. I discovered I have an excessive amount of makeup. Some of it is so old I brought it over from Germany when I moved to America 6.5 years ago. So some of it must have been pretty yucky. I also discovered that I got really tan (for me) over the summer. So a lot of the powders were too light.

Ok, so I spread it all out on my counters. I mean, look at all of this stuff!

 Crazy! And now from another angle:


All those mascaras in the bottom right corner... Oh, goodness! I think only one of those was still good. I also noticed I have duplicates, see those two cucumber peel off masks? All those makeup bags? I think that's like 7 powders. On the left is all my MaryKay stuff too.

So I did a bunch of purging. Got rid of the stuff I didn't think was really still good. I also made myself a couple specific bags:
A bag to keep in my purse for work with a few necessities, lip gloss, powder, lipstick, eye shadow.
A grab bag for trips, a bit of everything I might need to do makeup on an overnight trip.
A tiny Clinique bag with powder, blush, and lipstick.
And a bag with my every day items to do makeup.

Here's what my counter looks like after organizing.
I am still using my Tom's box to keep a lot of my makeup in it. I need to find a better way to organize my makeup though, obviously! Who else keeps their makeup in a shoebox?
Not pictured is that on the side I kept my ipsy bags separate. I don't know why, but I like to keep my ipsy products in their individual bag. Maybe that's just an odd tick I have.


Anyone have any good organizing tips for makeup? I'd love to hear from you all in the comments!


Monday, November 24, 2014

Lancome Testers

A few weeks ago my friend Nessa who works the Lancome counter at Macy's gave me some sample sized items to test. It was awesome! I absolutely love freebies and getting to try something new.
So, lets get right to it, ok?

First I put on some of the Advanced Génifique Youth Activating Concentrate I was given.
It looks pretty much clear.
It felt nice going onto my skin. It goes onto your bare skin right after you've washed your face and before you put anything else on it.
I didn't notice much of a difference. I think it would take longer than the sample size to really notice a difference. Here is what my face looks like after just putting this product on.


I also received La Base Pro Pore Eraser Instant Pore Erasing and Mattifying Primer
I definitely liked how it felt. After it went on, it felt kind of powdery. What I liked was that the smell wasn't bad, and it didn't feel greasy. My biggest problem with primers so far is, that they often feel so greasy. I have the Mary Kay primer with sunscreen in it, and barely use it because the smell bothers me so much. You probably can't tell much of a difference on the picture, but I'll post it anyway.
Well, maybe you can see what you can't see. No shininess or greasiness.

Now comes the foundation. Teint Idole Ultra 24H Wear & Comfort Retouch-Free Devine Perfection SPF 15.
My little sample size bottle.
This is how I put the foundation on.
And here is what it looks like once it's been distributed onto my face. Haha
I like the foundation. However it wasn't quite as long lasting as I would have liked it to be. I think I may need more coverage as well. If I was given this I would definitely use it all up, but I would probably not buy it with that price tag.Yes, I'm probably a bit cheap.

I also was given a sample sized mascara, Hypnôse Drama Instant Volume Mascara With No Clump.
I have to say, the mascara is pretty glorious! I really like it! It also does deliver on the promise of more volume. Here you can see it combined with other eye makeup.
I do really enjoy using this mascara. I may have to buy myself a full sized one.


I tested these products at the same time as I tested my ipsy November grab bag and wrote about that here. And this is what my complete look with all of those products and these Lancome products looks like:


While I was there and got all of these goodies, I got to test an awesome red lipstick. L'Absolu Rouge - 160 Rouge Amour
I "absolu" love this color! This is definitely something I want to get. But since the pricetag is a bit higher than I'd usually pay for a lipstick I'll have to save up a little bit. Gotta make sure I take care of the necessities before splurging on little luxuries like this.
I almost always wear pink lipstick, so I'm trying to try some new things. The lipstick goes on really smoothly and doesn't dry out your lips.
I'd definitely recommend it.


As I've stated before, I don't get paid for these reviews, nor did I get more free items, than anyone else would. All of these test samples are routinely given out to the public at Lancome counters.


Sunday, November 23, 2014

Potstickers

Today I'm giving you one of my favorite recipes. Haha, I think I may be saying this about every recipe I post. It's still true though. My husband and I love postickers. It's especially great because I don't even have to modify it to exclude onions or garlic which make me sick. My husband calls it my ginger pork instead of potstickers. He's right, you better like ginger, or you won't like this.
I also need to preface this by saying I made this for my sister who was in the country with her husband and visited us. I happened to have lent them my good camera and my private cell, so I took these pics with a point and shoot camera I gave my husband a few years ago. The pics aren't too bad, but not awesome either.

OK, here goes:
These are the ingredients you need. (Not pictured is the cayenne I used. The recipe calls for Sichuan pepper, however there is an import block of that to the US. Something about citrus plants. However some Asian specialty stores still have some. They can sell what they have, just not import more. The cayenne works just fine for me though.)

Potstickers:
2-3T Soy Sauce
2T Sesame Oil
2 Inches Fresh Ginger
1 lbs Ground Pork
1 Eggs
1t Cayenne
Wanton Wrappers

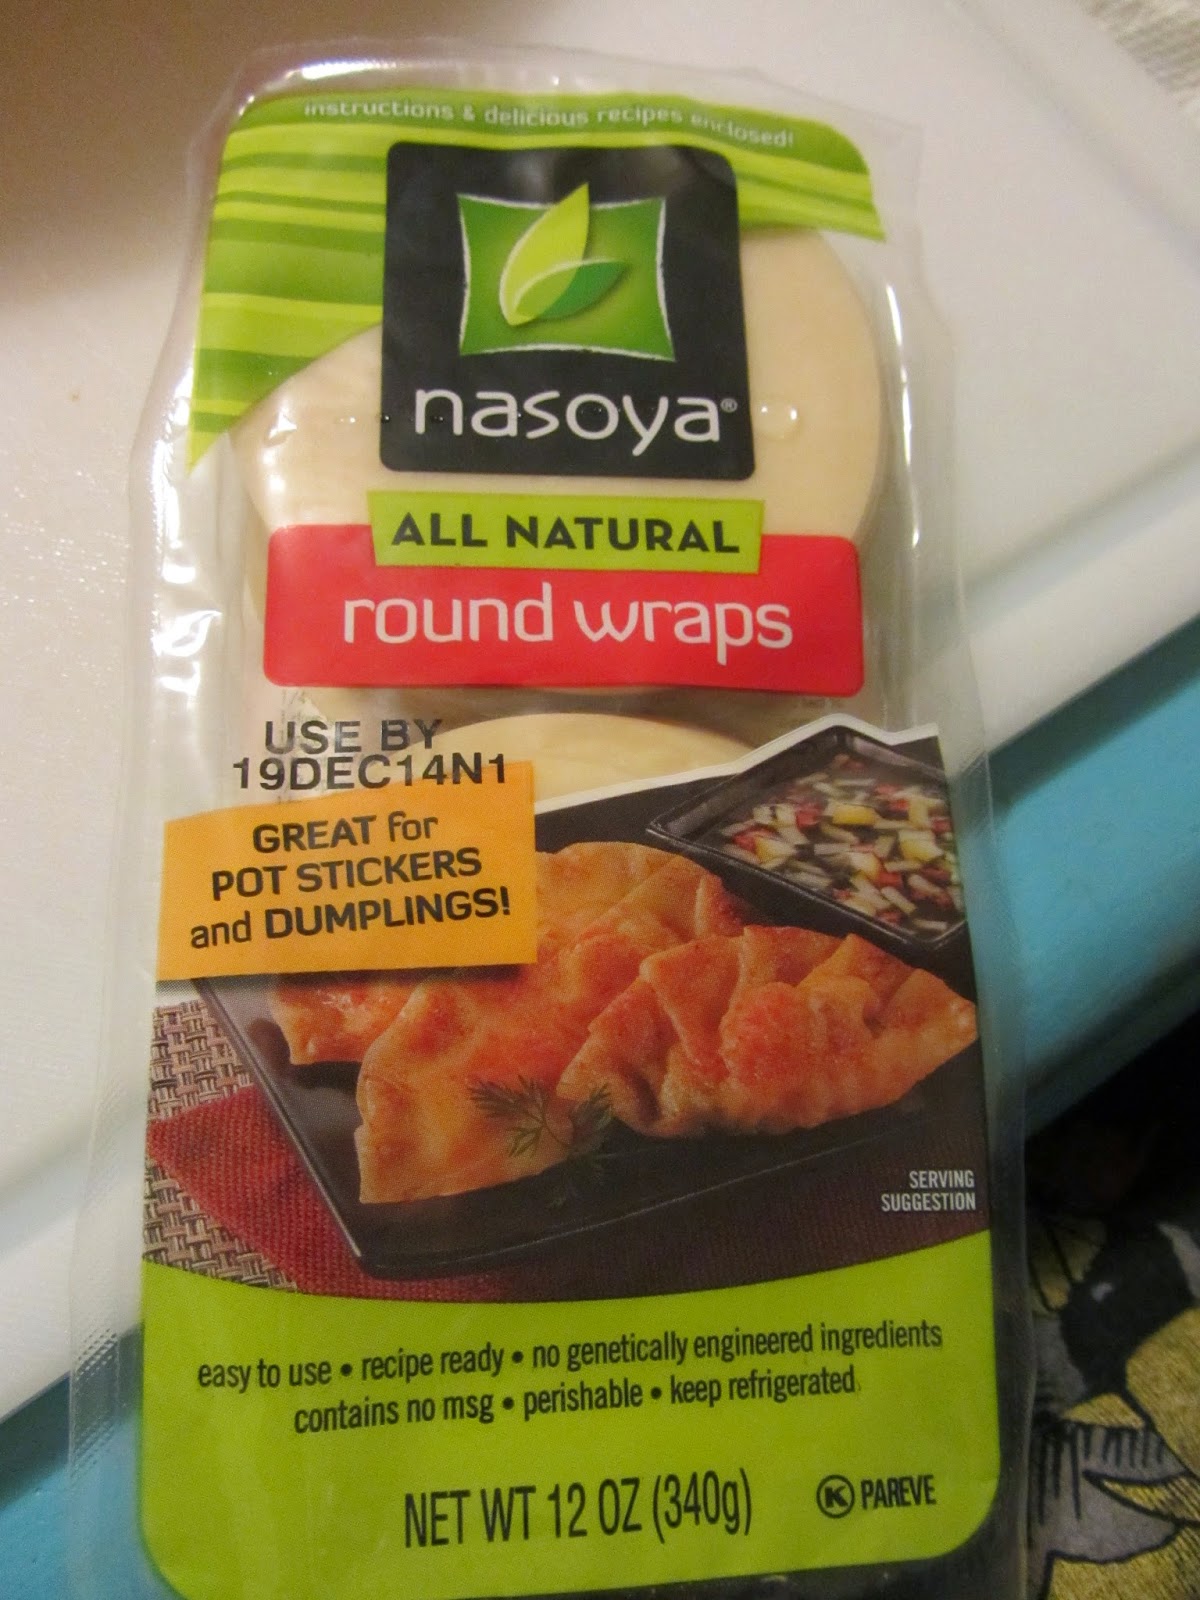
You will see I just about tripled the recipe. It's up to you though. Also, try to buy round wanton wrappers if you can. I'm a big fan of making everything from scratch, however, I've found that using the pre-made wrappers are just as good if not better than homemade dough. Way less muss and fuss too. If you can't find round ones, you can buy square wrappers and cut off the corners, that'll make them round enough to stuff.

First grab your ginger.
Peel it and chop it into little pieces. Cut through the grain, as it's very fibrous.

Then I toss them into my cusinart. (Thanks mom!)


As you can see I may use more ginger than the recipe calls for. I love ginger though.

Ok, now blend it all up. In theory you can cut it all up by hand, but I'm lazy and love my conveniences.
That delicious fresh ginger smell. Ginger is super good for all sorts of things. It helps with nausea. I swear by ginger. It's also supposed to help increase circulation, or so I'm told. I bought honey crisp apple cider which was too sweet for my sister, so she added a pinch of ginger and a shot of lemon juice to it.


Now start adding all your other ingredients to the cuisinart.
Add your pork.

Add your cayenne.

Add your egg(s)
Add your soy sauce
Add your sesame oil

Now blend it all up until it's all the same consistency and thoroughly mixed.

Now it's time to stuff your wanton wrappers.
This is the brand they sell at my little Waremart (Winco's little baby). They are super great quality. For my batch that's 2.5 times the whole recipe I get two of these packs and end up with a little bit leftover. Which is perfect, since I made my husband fry some up for me as a midnight snack while I was working on them.

I make a little workstation for myself. I take a big cutting board to work on  into the living room and put it onto my coffee table. The stuffing is time consuming, so I like to watch tv or something like that while I work on it.

You'll also need a little bowl with lukewarm water.

Here you can see my little stuffing station. My husband stepped in to act as a photographer for this one.

I use two teaspoons for the filling. One to grab a small scoop of the filling, and the other to help it off the spoon. Be aware to not stuff them too full, or they will burst open while you're cooking them and it gets messy.

Now dip your finger into your water bowl and run it across the edge of the wanton wrapper so it's a half circle.

Now fold over the other half and smooth the edges shut. The water mixes with the flour and acts like a glue.

This takes a little bit of practice, but it really is simple. Pinch the dough and fold over into pleats.

Now just keep making more and more.


You can freeze them and cook them straight from the freezer if you want.
There are a few different ways you can cook these. You can steam them, just fry them on both sides, and I've even seen someone just plain old boil them. I'm going to show you the trickiest version, but in my opinion also the tastiest version. I still find it challenging and make my husband do it. Haha, I'll have to practice it myself too.
Heat up a cast iron frying pan with oil (preferably peanut oil as it can handle the highest temperatures).
Add your potstickers one side down into the hot oil.

Once they've browned on one side, add 2/3 of a cup of water to the pan and place the lid on it until the water has evaporated. This will steam the other side, about 5 minutes. You'll have one side crunchy crispy, and the other side pretty much soft and steamed.

Now here is your delicious treat.


Dipping Sauce Recipe:

4 mashed garlic, 
1t hot oil, 
1t rice vinegar,  
¼t sesame oil, 
3T soysauce, 
(optional hot pepper flakes)

I usually triple the dipping sauce. I also leave out the garlic, but obviously if it doesn't make you violently ill like it does me, it's a tasty addition.


As usual, here is the quicky sumary of the recipe:

Potstickers Jiaoz

Ingredients:
2 inches ginger, peeled and sliced
1 pound ground pork shoulder
2-3 T soysauce
2 T sesame oil
Setchuan pepper, toasted in oven, mortar + 1-2- t salt
1 egg
Wanton wrappers
Mix all the ingredients in a food processor, if you dont have one, cut everything very fine and mix.
Stuff into rounds of wanton wrapper. Dampen edges in a half moon circle, fold over wrapper, pinch shut and fold over so theres a ruffle.

Dipping Sauce
4 mashed garlic, 1 t hot oil, 1 t rice vinegar, ¼ t sesame oil, 3 T soysauce, (optional hot pepper flakes)

How to cook:
Flat skillet on high (cast iron),
Add peanut oil to cover generously
Add potstickers for 1 minute
Add 1/3 cup warm water, put on cover/lid and cook until it evaporates (5 min)
If using frozen ones use add 2/3 cup warm water and extend cooking time by 10 min (You can freeze the stuffed potstickers